How to Manage Species
Species is your lab's own list of the animals you keep, and each species carries the lifecycle defaults Moustra uses to plan wean dates, biopsy dates, and maturity. Every lab starts with Mouse built in, and the species picker only appears on animal and strain forms once you have more than one active species.
Open the Species page
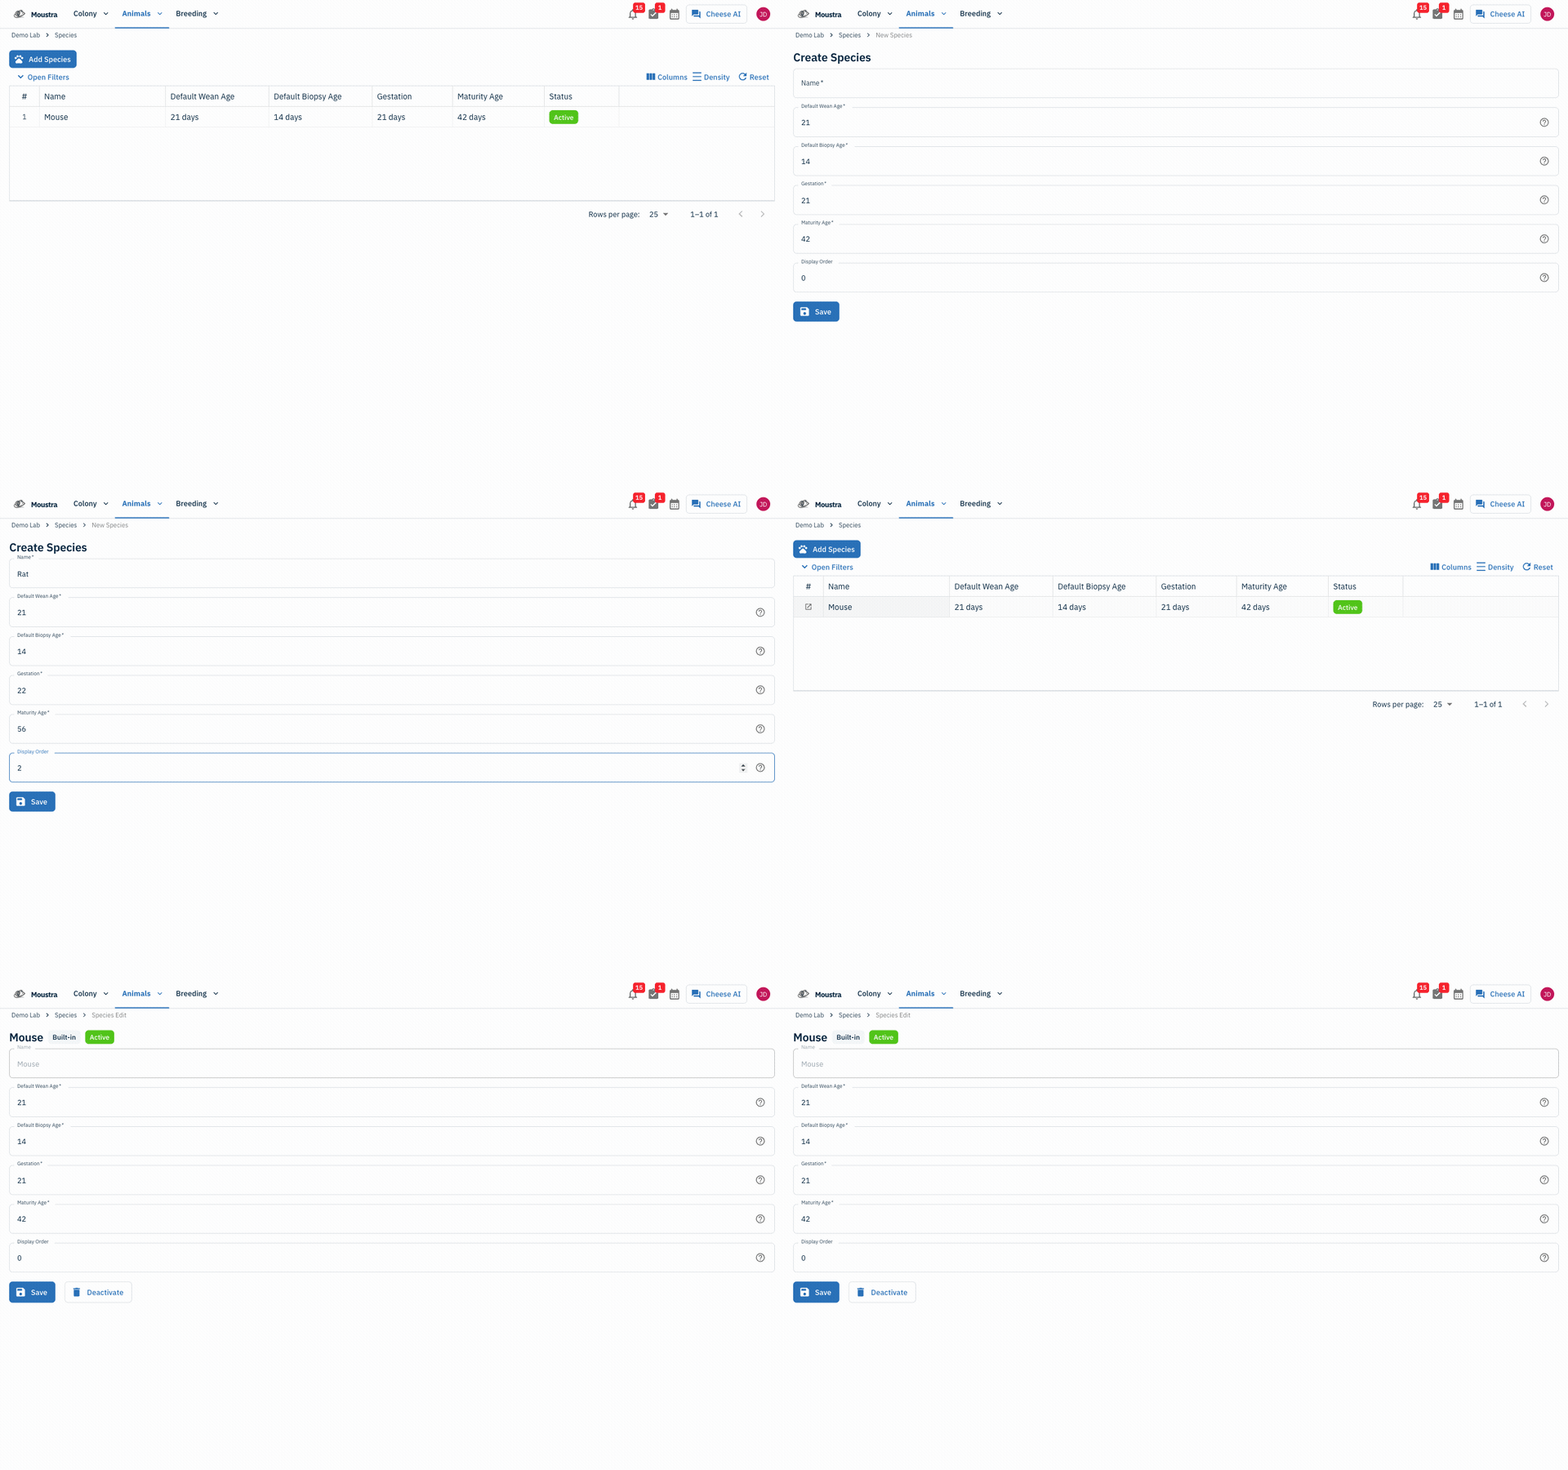
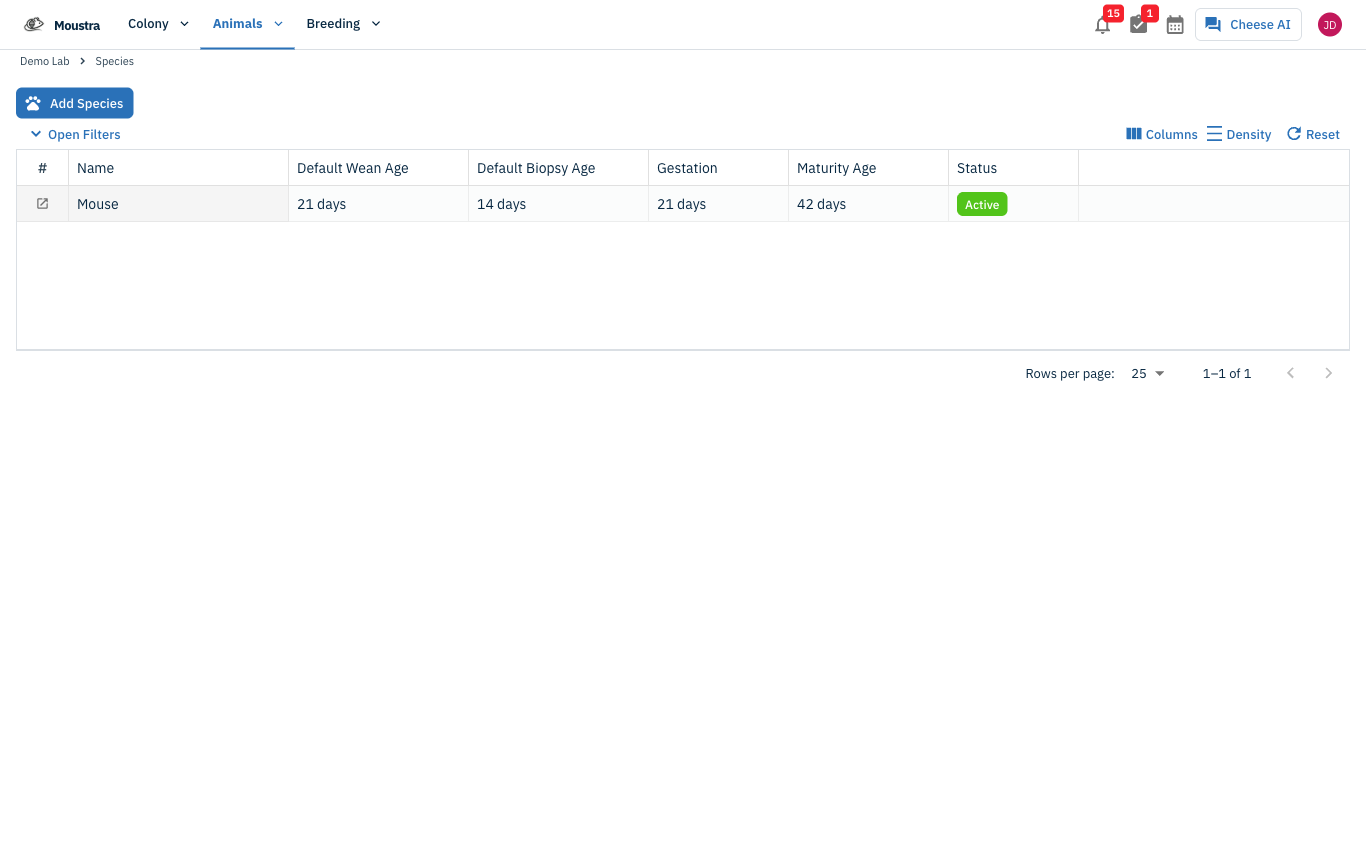
Open the Animals menu in the navigation menu and click Species. The grid lists every species your lab has defined — Name, Default Wean Age, Default Biopsy Age, Gestation, Maturity Age, and Status — including deactivated ones.
Add a new species
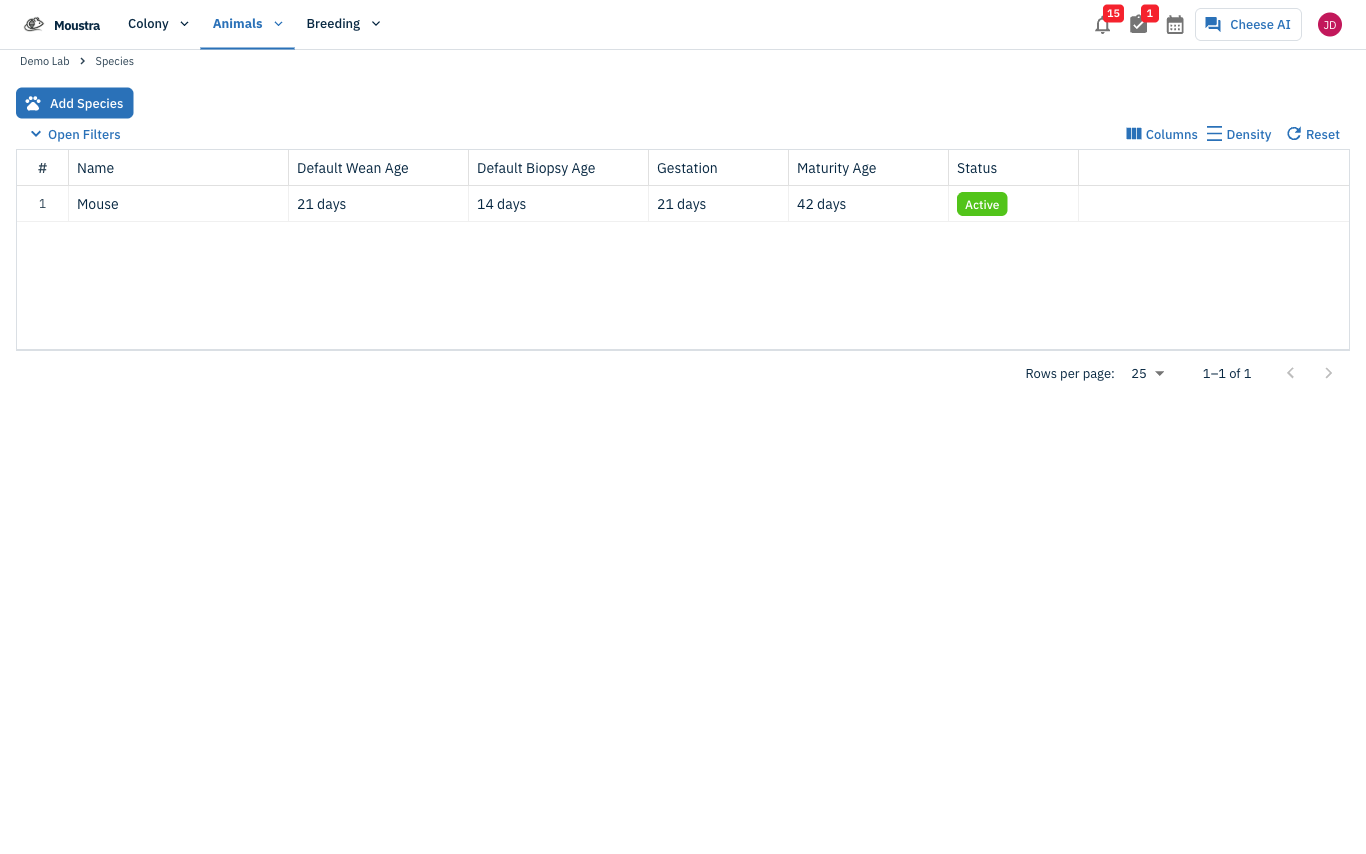
Click Add Species at the top of the page and enter the Name. Names are limited to 50 characters.
Set the lifecycle defaults
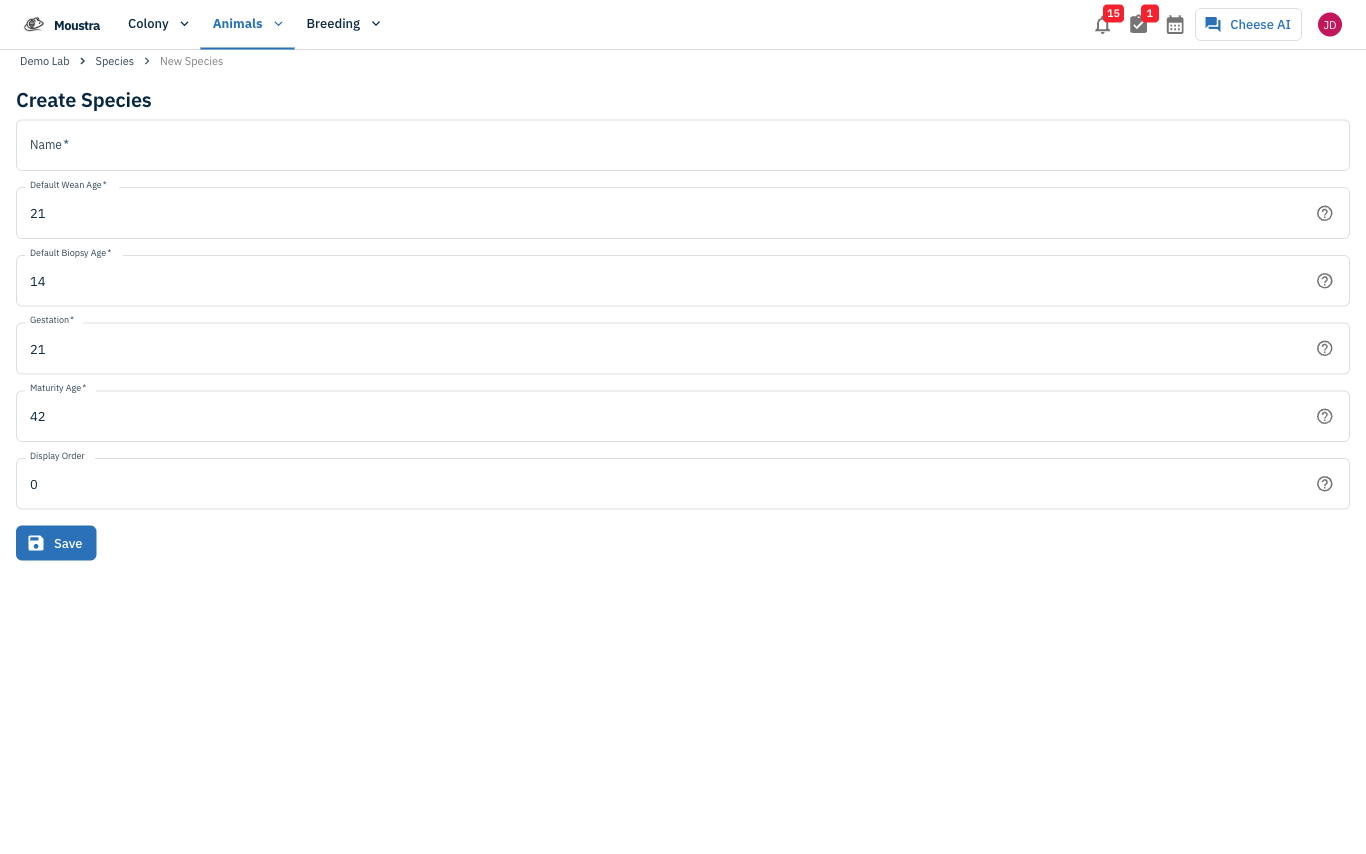
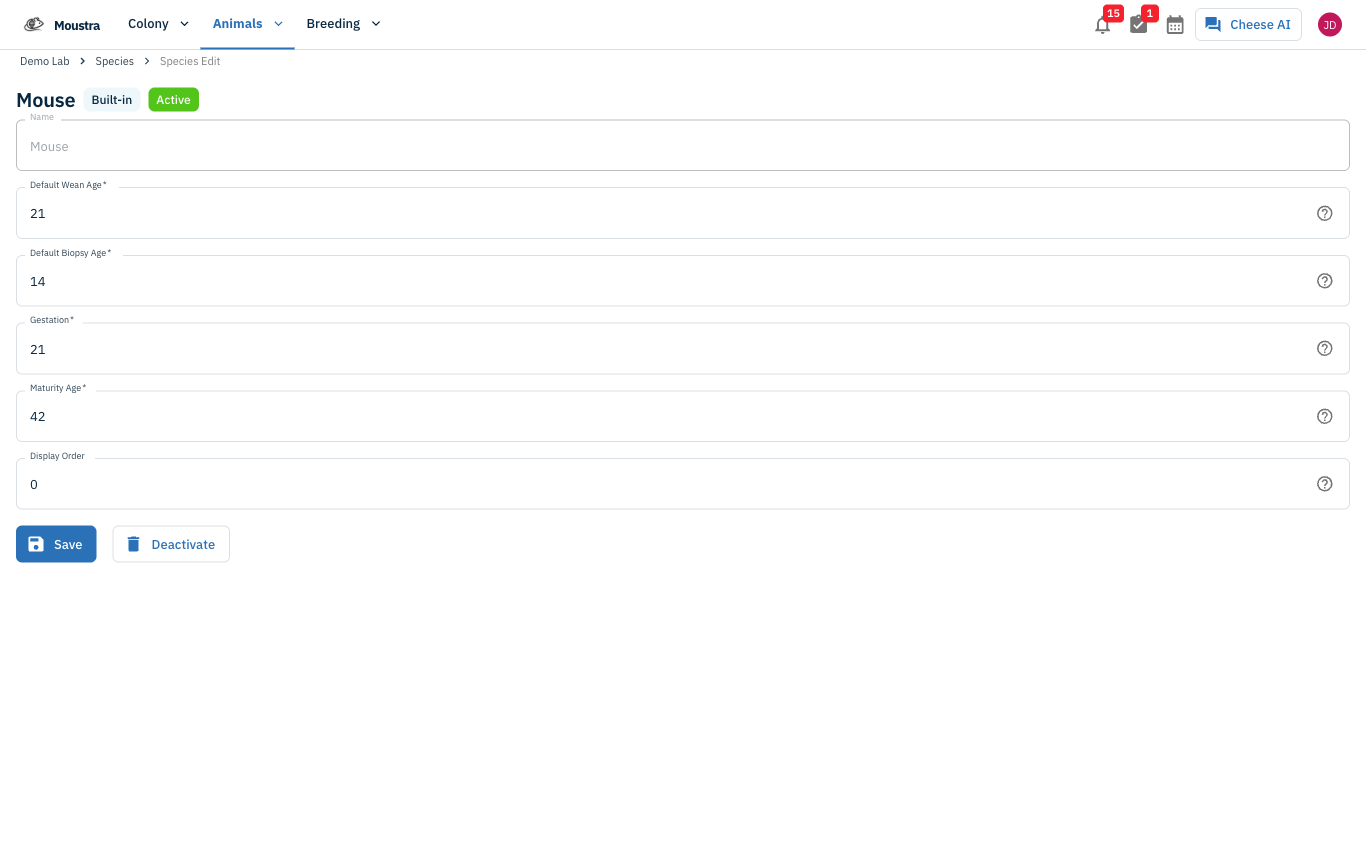
Fill in Default Wean Age, Default Biopsy Age, Gestation, and Maturity Age, each counted in days from birth, then click Save. Display Order controls where the species sits in pickers.
Open an existing species
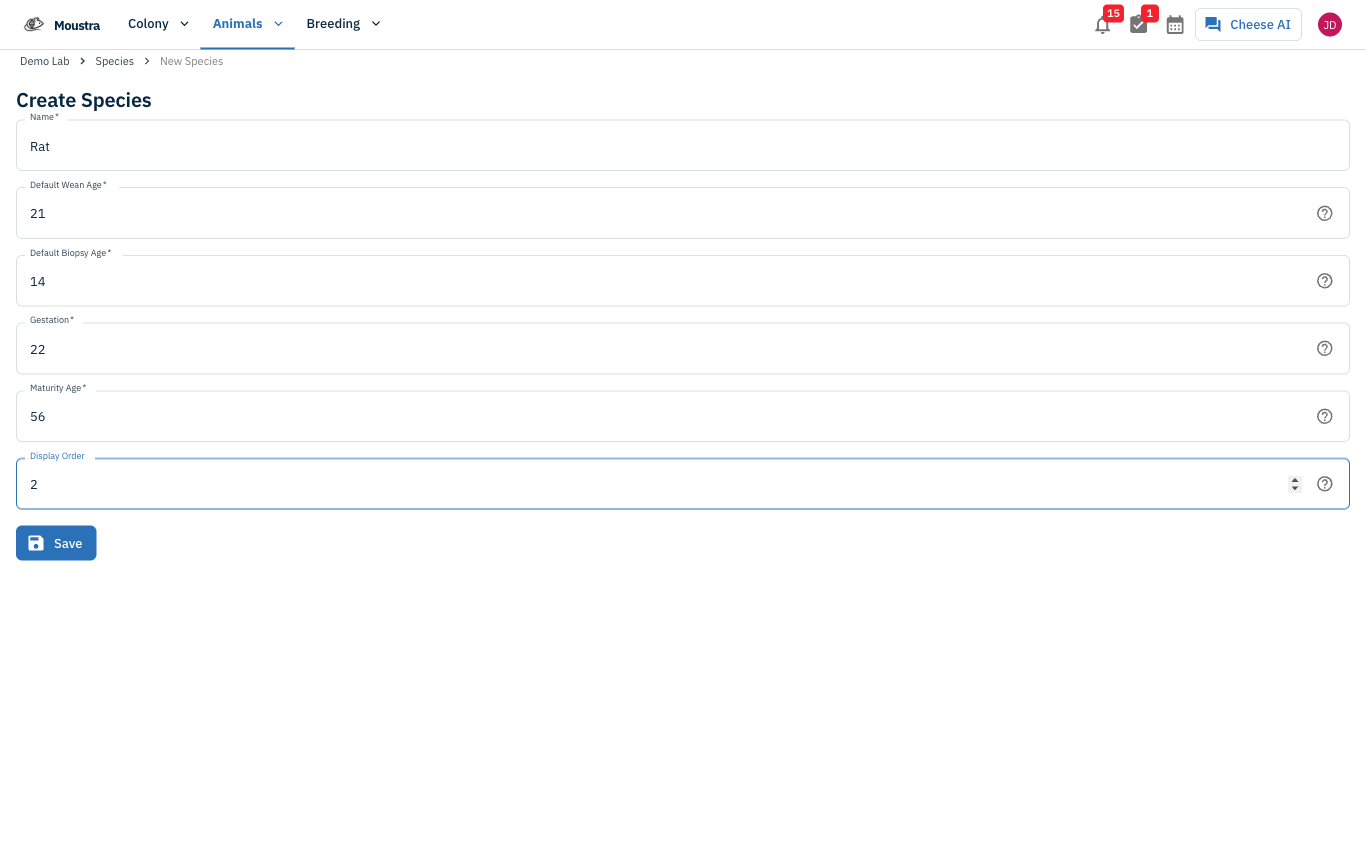
Back on the Species page, hover the row you want and click the open-record button that appears in the # column. Clicking elsewhere on the row won't open it.
Update or deactivate the species
Adjust any of the day values and click Save. Click Deactivate to retire a species — it drops out of every picker while existing animals and strains keep it.
More in Editing your colony
How to Create a New Animal
Step-by-step instructions for adding a new animal, including key fields and tips.
How to Add a New Strain
This guide will walk you through the process of creating a new strain entry in Moustra.
How to Add Breeding Animals
This guide will walk you through the process of creating multiple breeding animals at once in Moustra.