How to Migrate Your Data
Bring an existing colony into Moustra by importing CSV files. The AI-assisted importer detects your columns and date formats, suggests a mapping to Moustra fields, and lets you review before anything is created.
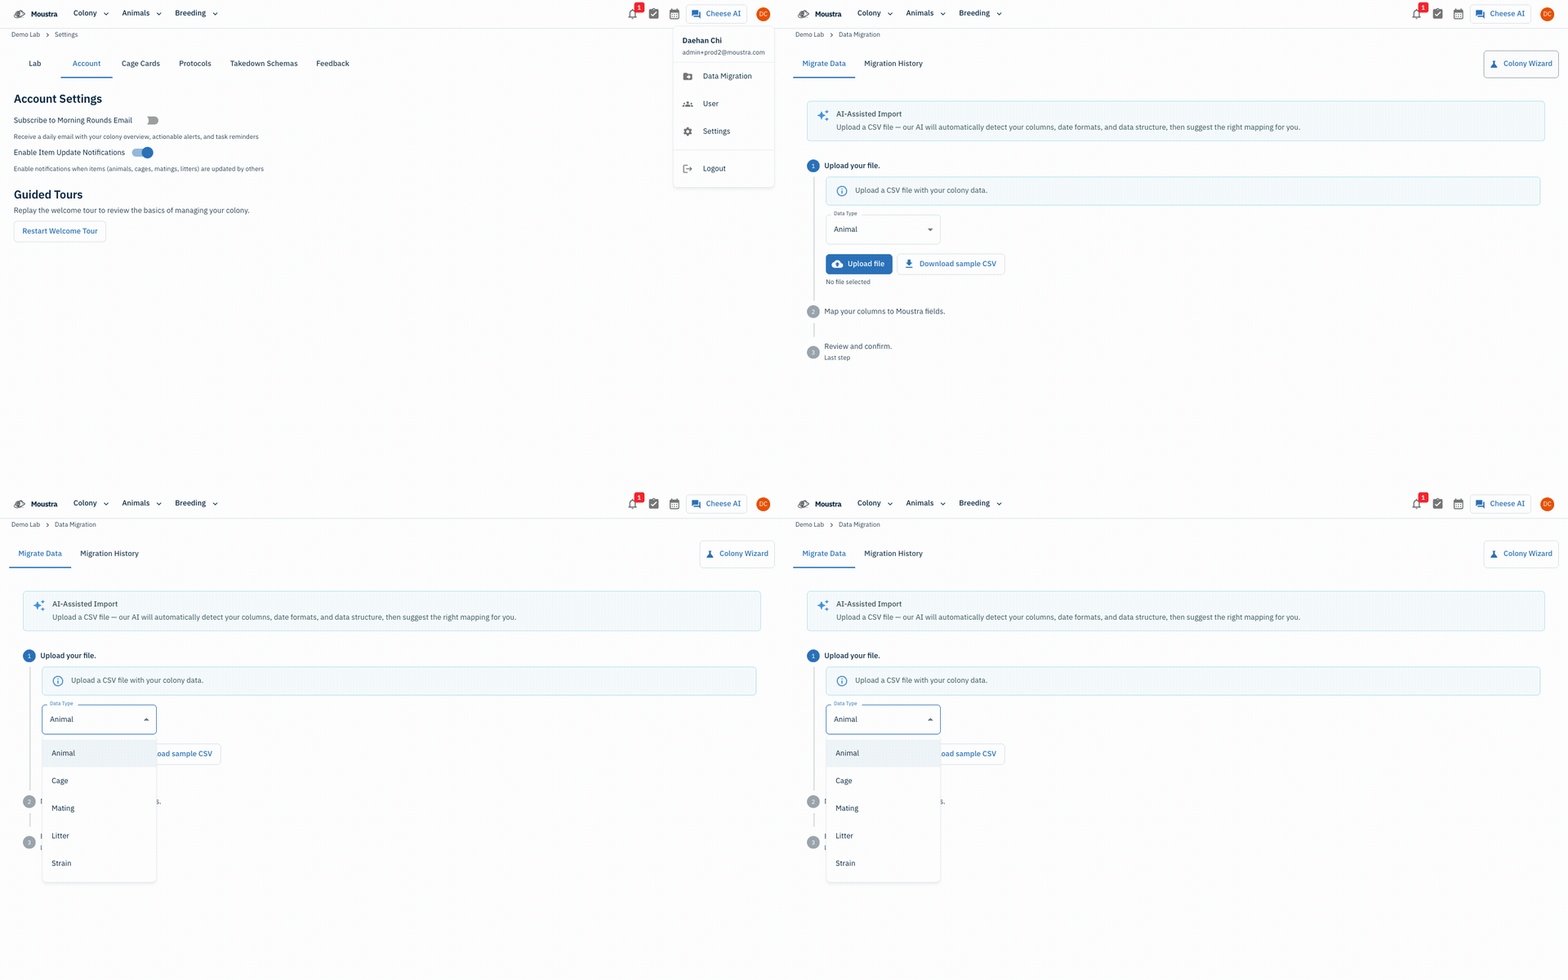
Open Data Migration
From your account menu (top-right avatar) choose Data Migration to open the importer. It has a Migrate Data tab and a Migration History tab.
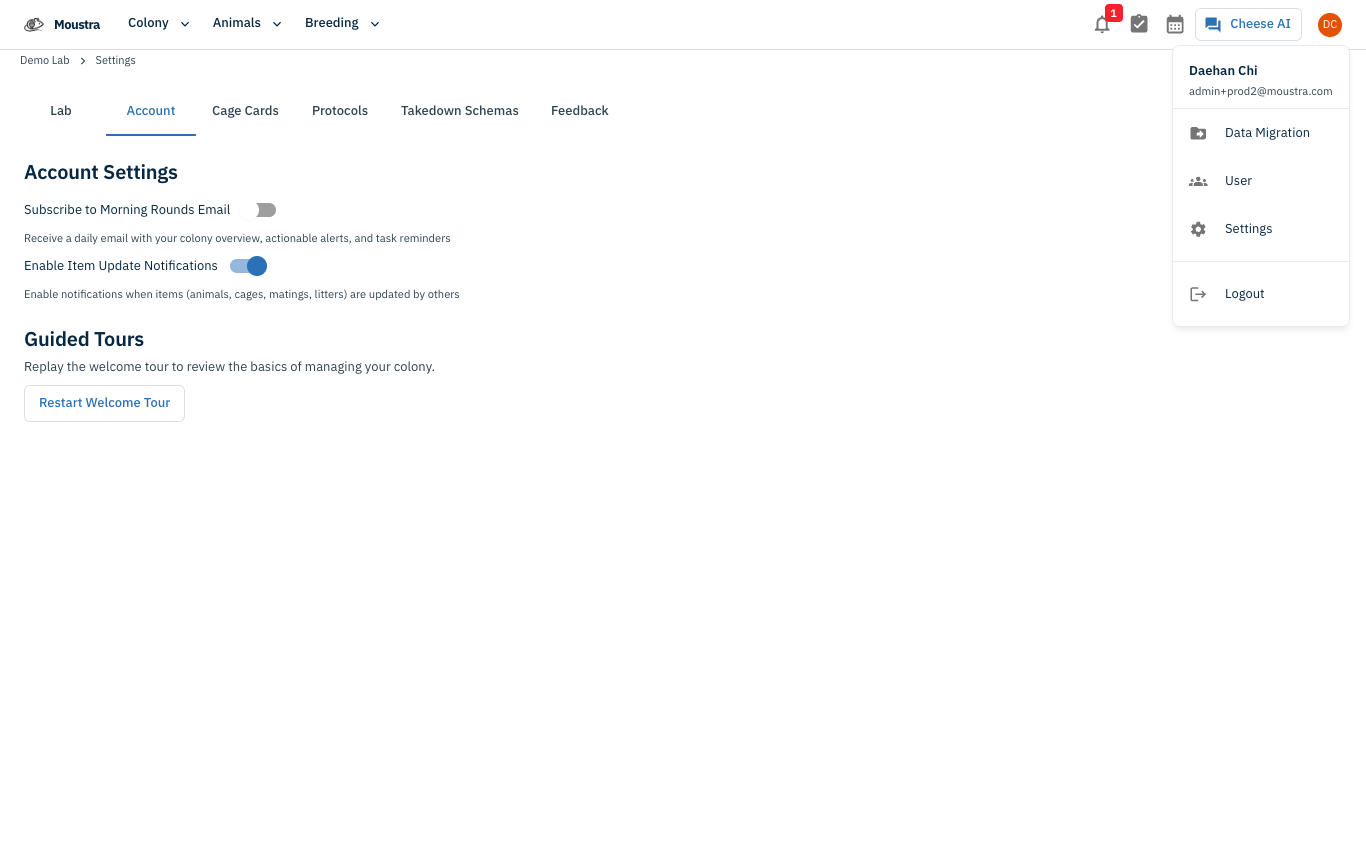
Upload a CSV
On Migrate Data, click Upload file to select a CSV of your colony data. Use Download sample CSV to see the expected format. The importer runs in three steps: upload, map columns, and review & confirm.
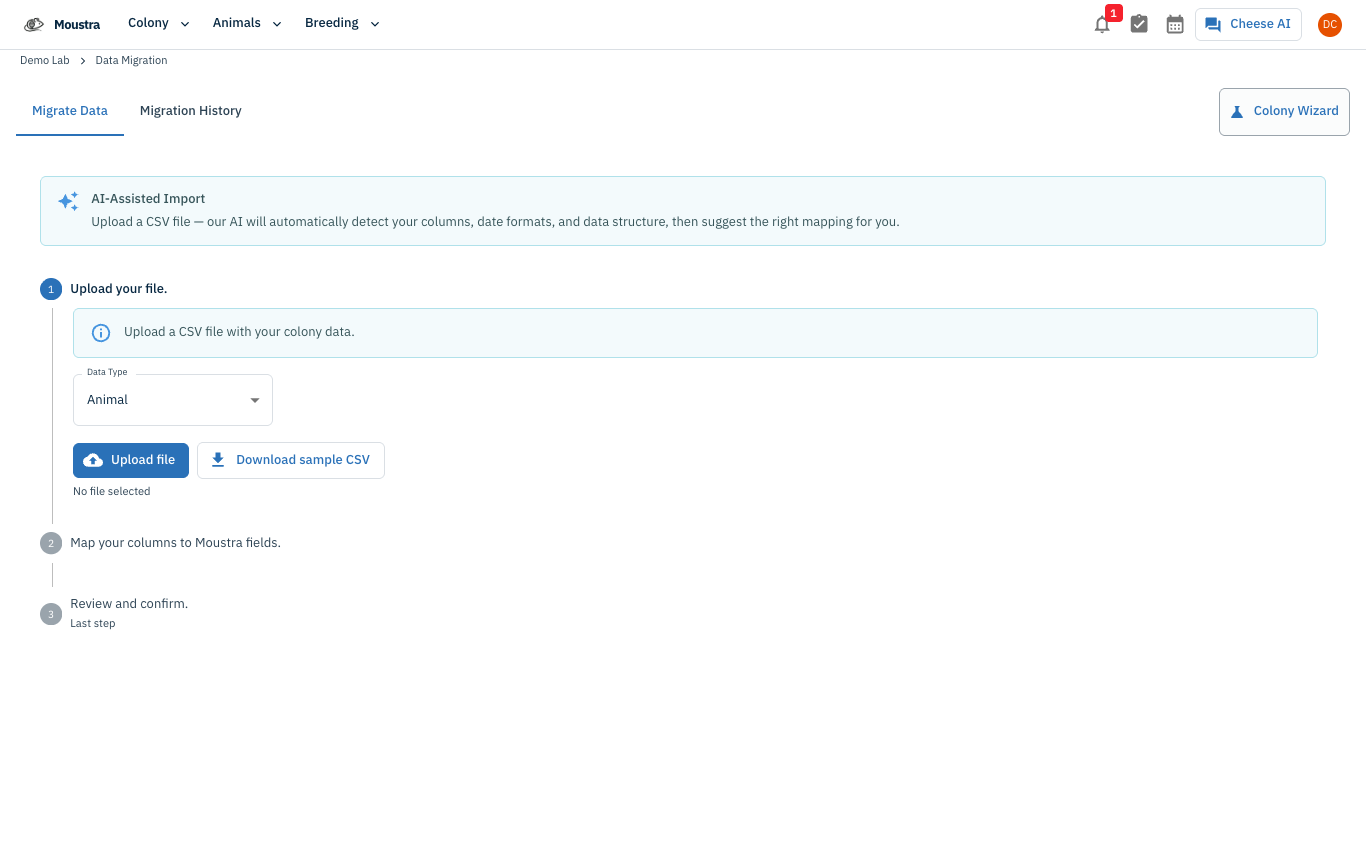
Pick the data type, then map and confirm
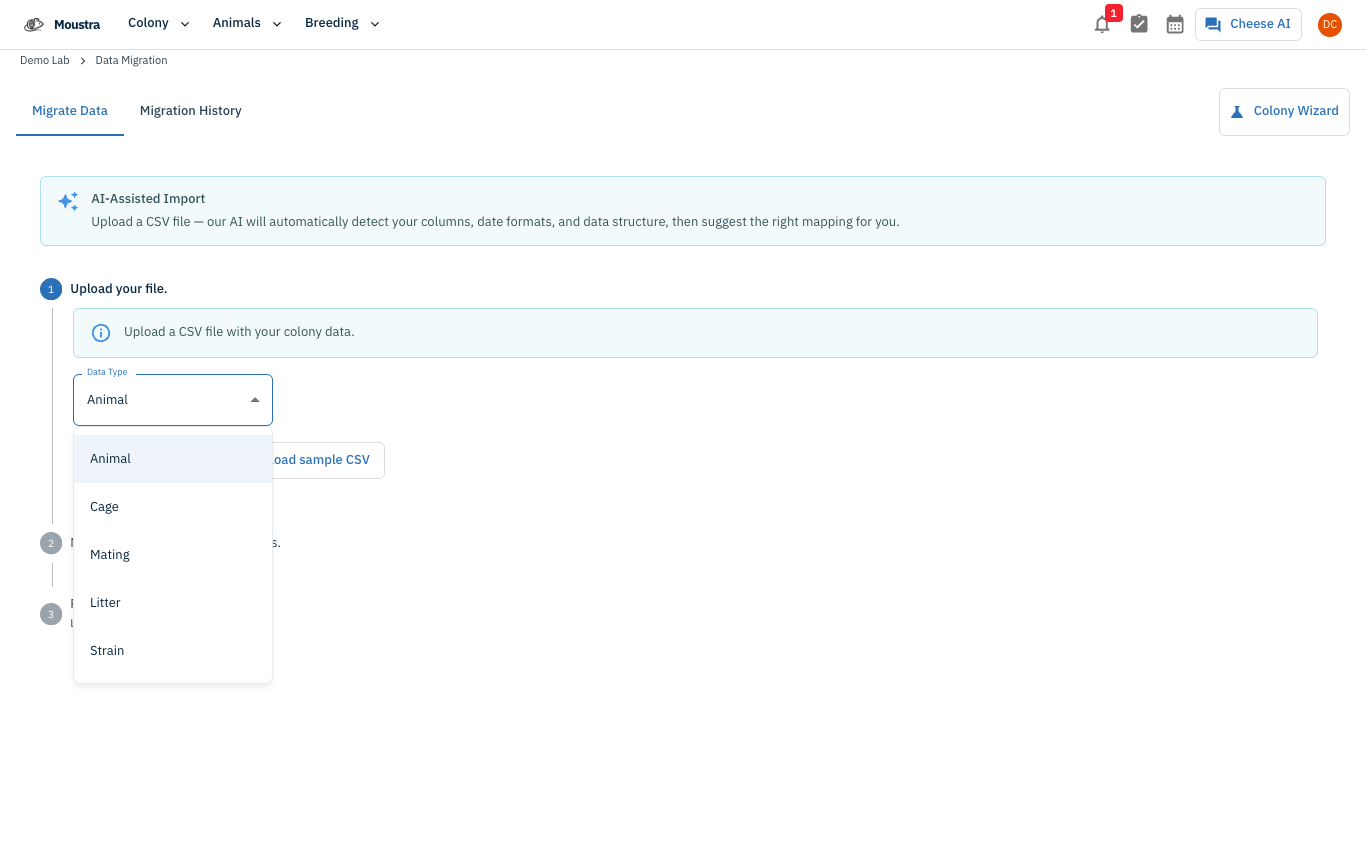
Set the Data Type — Animal, Cage, Mating, Litter, or Strain — and import each type from its own CSV. After upload, Moustra's AI maps your columns to Moustra fields for you to confirm, then you review and confirm before the records are created.
Columns you can import
Every column below is optional unless marked required; unmapped columns are ignored. Column names match the sample CSVs, and the mapping step also recognises common spellings (SoftMouse exports work as-is). Dates accept
YYYY-MM-DD,MM/DD/YYYY,DD.MM.YYYYand similar.Import in this order: Strain → Cage → Animal → Mating → Litter, so each record is complete when a later file refers to it.
Strain: Strain Name (required), Background, Genotype.
Cage: Cage Tag (required), Cage Strain, Rack, Room, Position (rack slot such as
A3— a taken or invalid slot falls back to the next free one, and a full rack grows to fit; never blocks the import), Status (StockorMating), Set Up Date, End Date (an ended cage is imported without a rack slot), Comment, Animal Tags (;-separated tags of the animals housed in the cage).Animal: Physical Tag, Sex, Date of Birth, Wean Date, Strain, Background, Genotype (e.g.
LepR-Cre(+),Scx-GFP(+)), Cage Tag, Sire Tag, Dam Tag, State, Protocol (an existing protocol number or title — protocols are never created by an import), Received Date, Tail Date, Procedure Date, Mature Date, End Date, End Reason, End Comment, Comment. An End Date imports the animal as ended; a blank End Date never revives one. If your lab has defined custom fields for animals, they appear in the mapping dropdown as Custom: <field name> and are validated by type.Mating: Mating Tag, Litter Strain, M.Tag, F.Tag (required), Cage Tag (optional — a disbanded mating may have none), M.Genotype, F.Genotype (applied to the parents), Set Up Date, Pregnancy Date, Disbanded Date, Litters, Comment. Litters lists one litter per line as
<tag> [<size>, <date of birth>, <wean date>, <state>, <end date>, <end reason>]— the shape SoftMouse exports — and creates each litter under the mating with its birth, wean and end dates.Litter: Litter Tag, Mating Tag (both required), Litter Strain, Dam, Sire, Date of Birth, Wean Date, Tail Date, End Date, Number of Male / Female / Unknown, Litter Animal Tags (pups are created if they do not exist yet), Comment.
More in Editing your colony
How to Create a New Animal
Step-by-step instructions for adding a new animal, including key fields and tips.
How to Add a New Strain
This guide will walk you through the process of creating a new strain entry in Moustra.
How to Add Breeding Animals
This guide will walk you through the process of creating multiple breeding animals at once in Moustra.