How to Use the Cage Grid
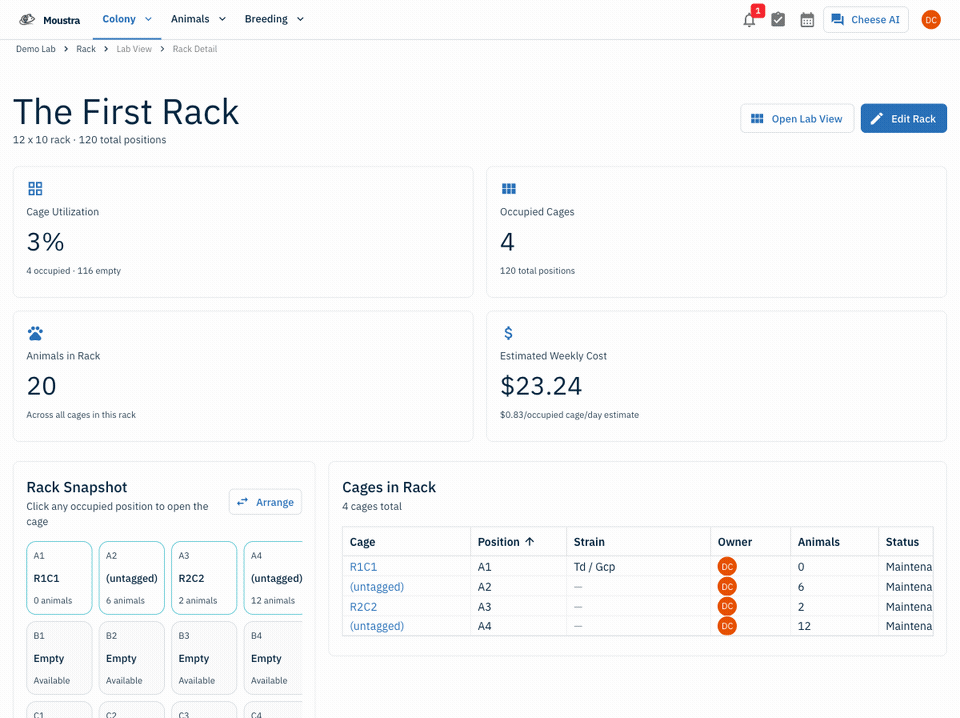
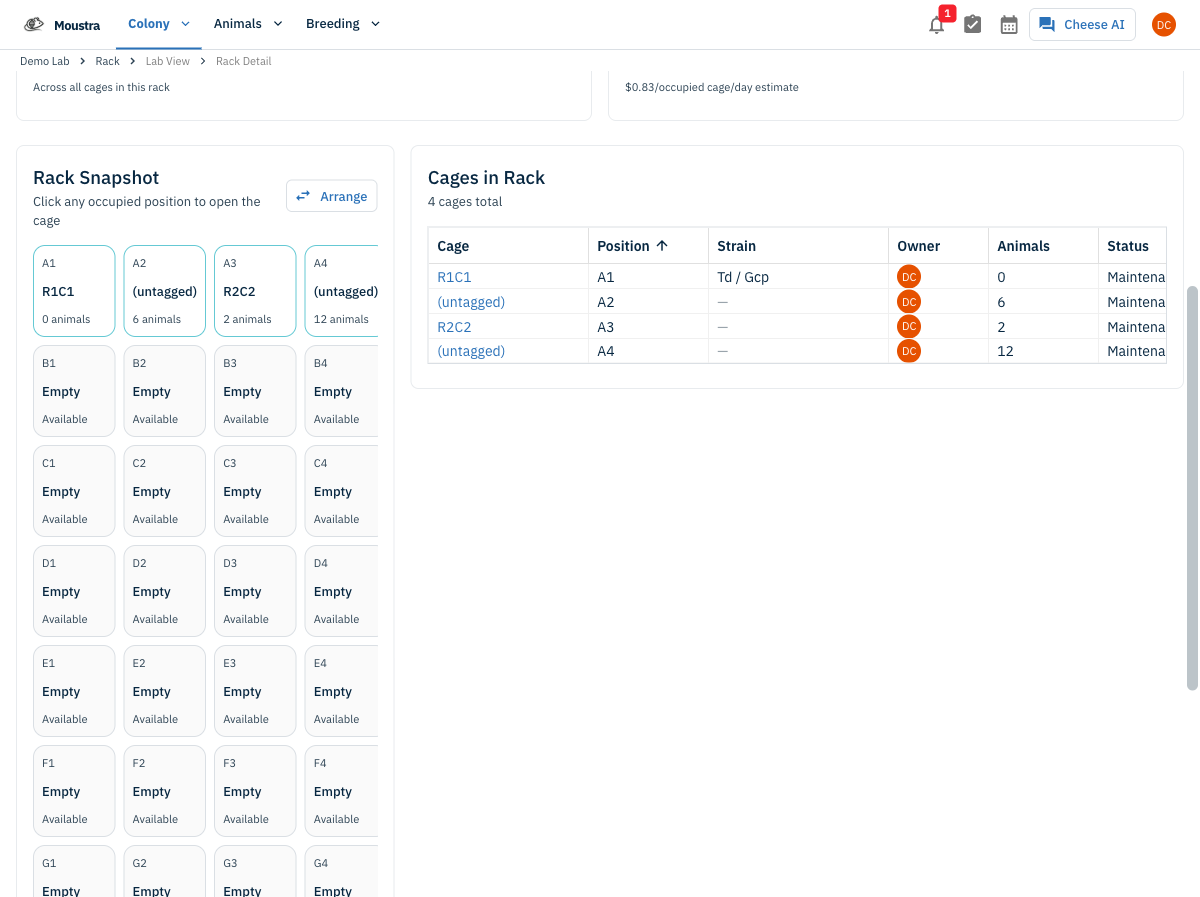
See every cage in a rack at a glance. The rack grid shows occupancy, animal counts, and empty positions in a spatial layout that mirrors your physical rack — click any occupied position to jump straight to that cage.
Open a rack to see its grid
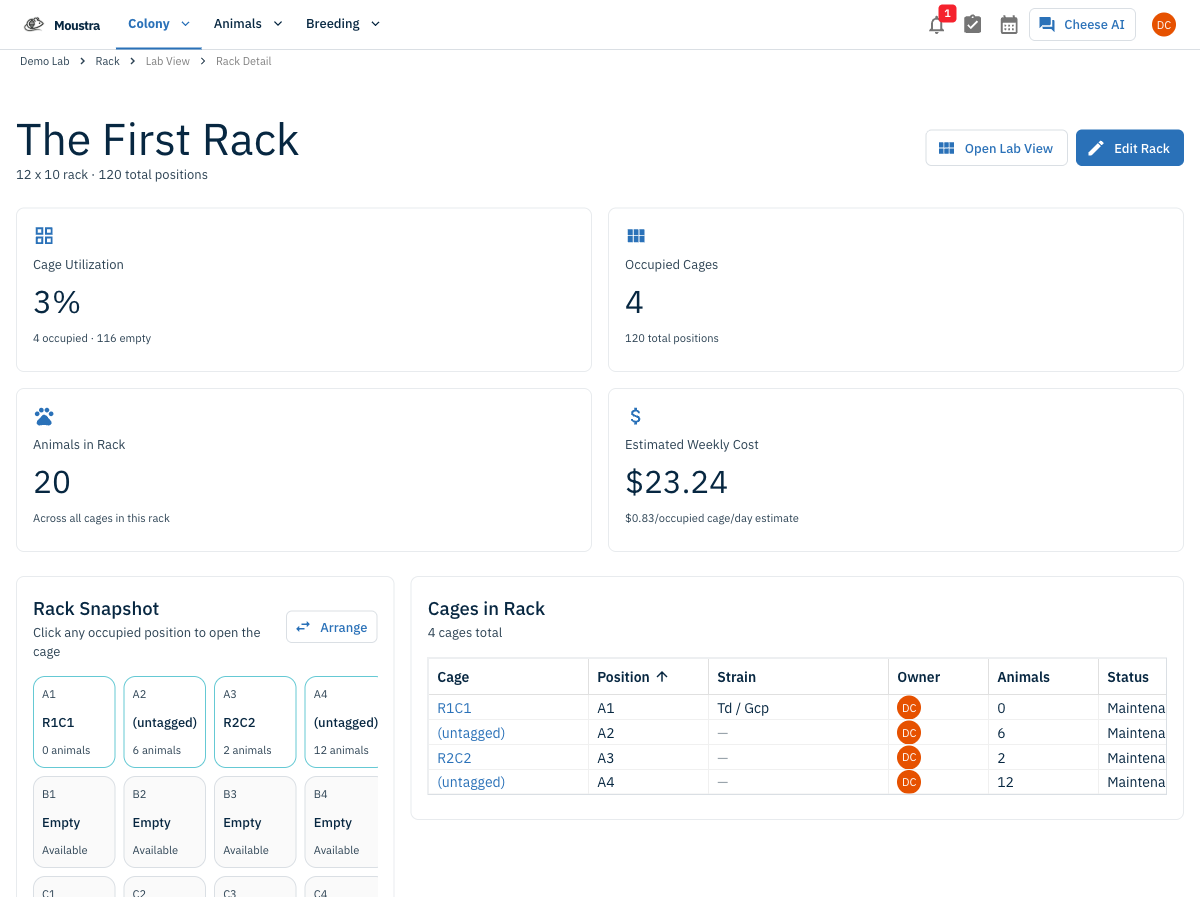
From Colony → Racks, open a rack to view its detail. The header shows live stats: Cage Utilization (percent occupied), Occupied Cages, Animals in Rack, and an Estimated Weekly Cost.
Scan the Rack Snapshot
The Rack Snapshot lays out every position spatially. Occupied tiles show the cage tag and animal count; empty positions read Available. The Cages in Rack table beside it lists each cage with its position, strain, owner, animal count, and status — sort by any column.
Open a cage from the grid
Click any occupied position in the snapshot, or a cage in the table, to jump straight to that cage's detail page.
Rearrange or go full-screen
Use Arrange to move cages between positions, or Open Lab View for the full zoomable rack canvas.
More in Navigation
How to View the Family Tree
Visualize an animal's lineage and offspring to understand genetic relationships and plan breeding pairs.
How to Set Up IACUC Protocols
Create IACUC protocols with species limits so Moustra tracks approved animal usage and prevents exceeding caps.
How to Use the Rack View
Visualize your vivarium as an interactive rack layout to spot empty slots, check occupancy, and drag cages between racks.