How to Create a Study
A study is the workspace where you track a research effort end to end — its animals, cohorts, time-points, measurements, and treatments. Creating one takes a single short form: give it a name, pick a status, and optionally attach a protocol, an owner, and start and end dates. Once saved, Moustra opens the study's Overview tab where you can start adding animals and groups.
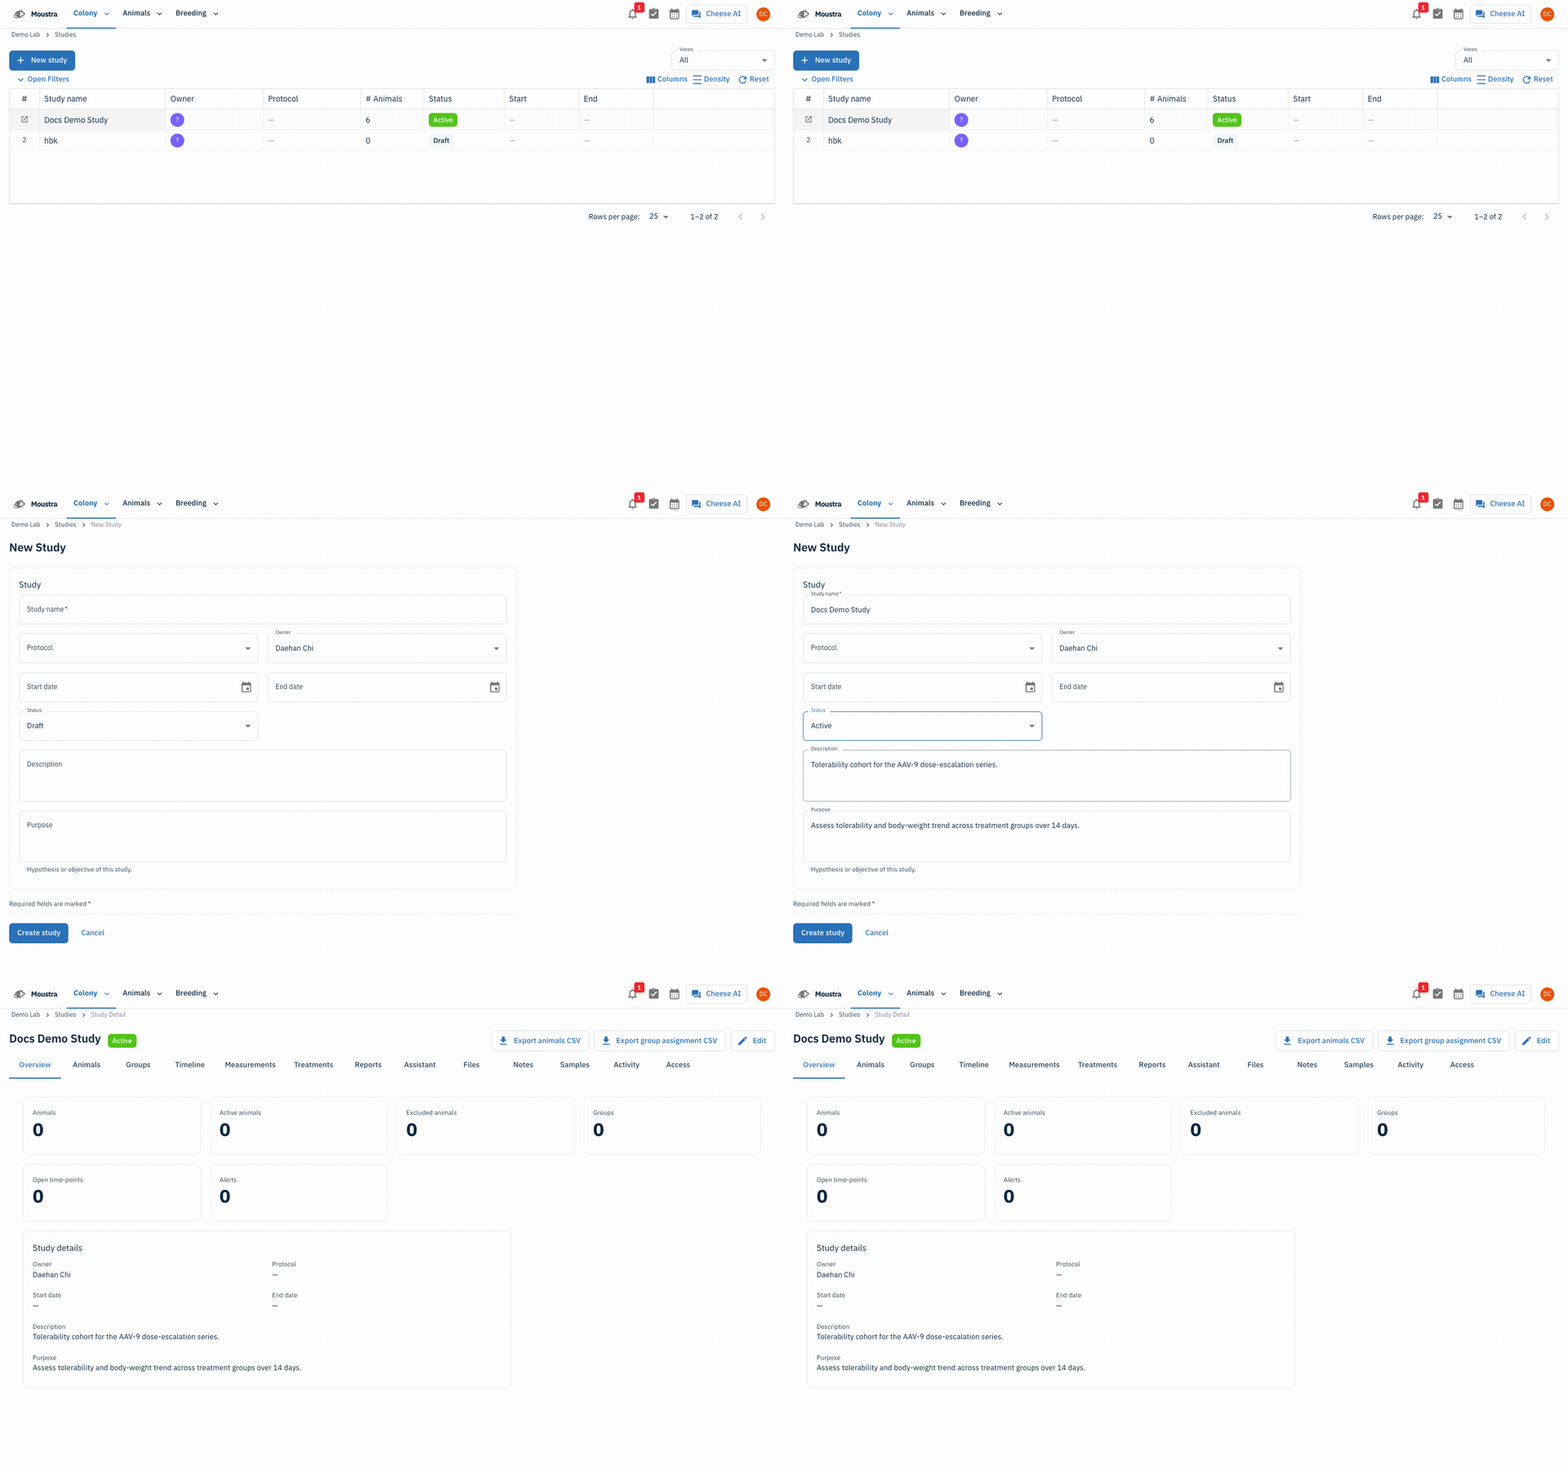
Open Studies
In the top navigation bar, open the Colony menu and choose Studies. This opens the Studies list at
/study, showing every study in your account with its owner, protocol, animal count, and status.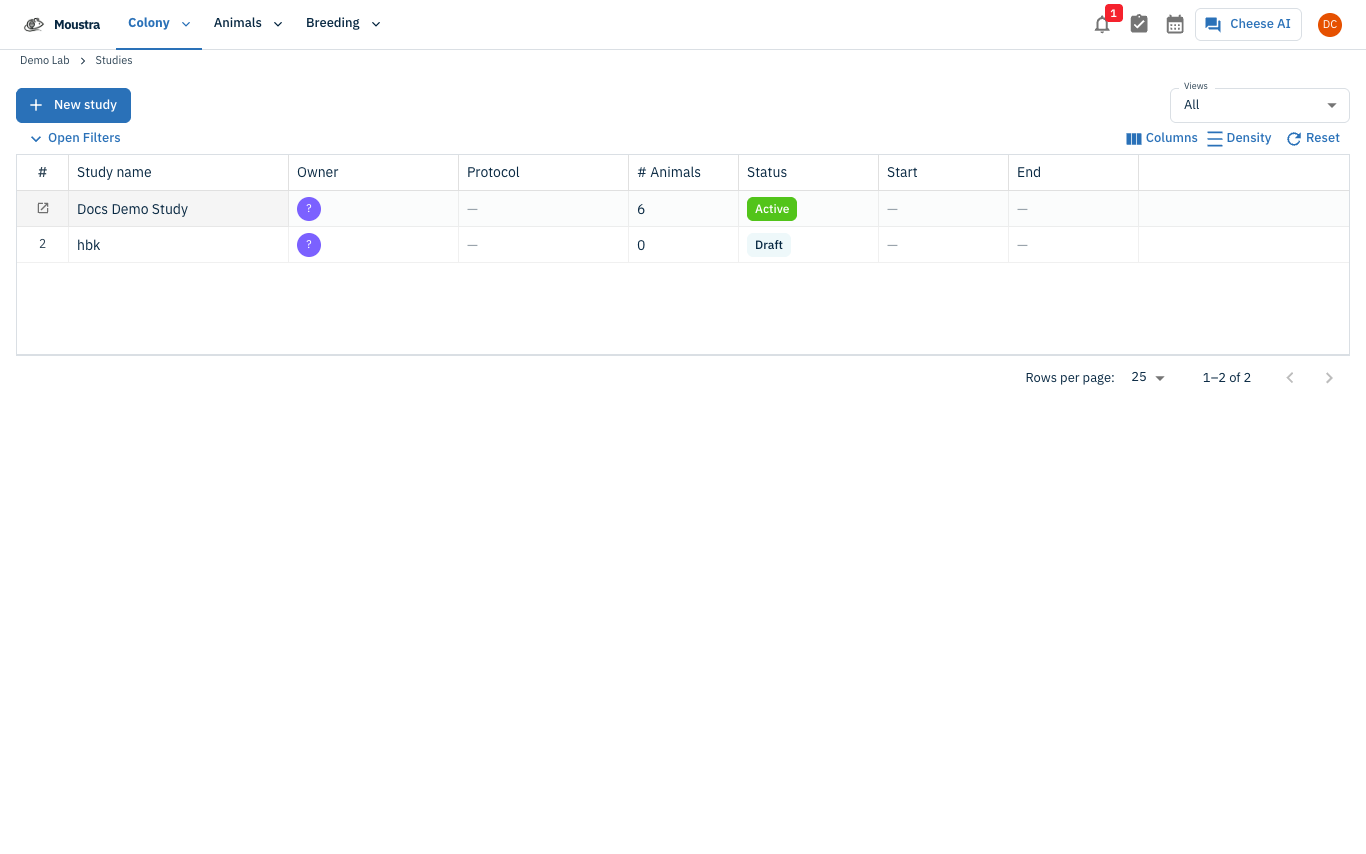
Start a new study
Click the New study button at the top-left of the Studies list. Moustra opens the New Study form at
/study/new.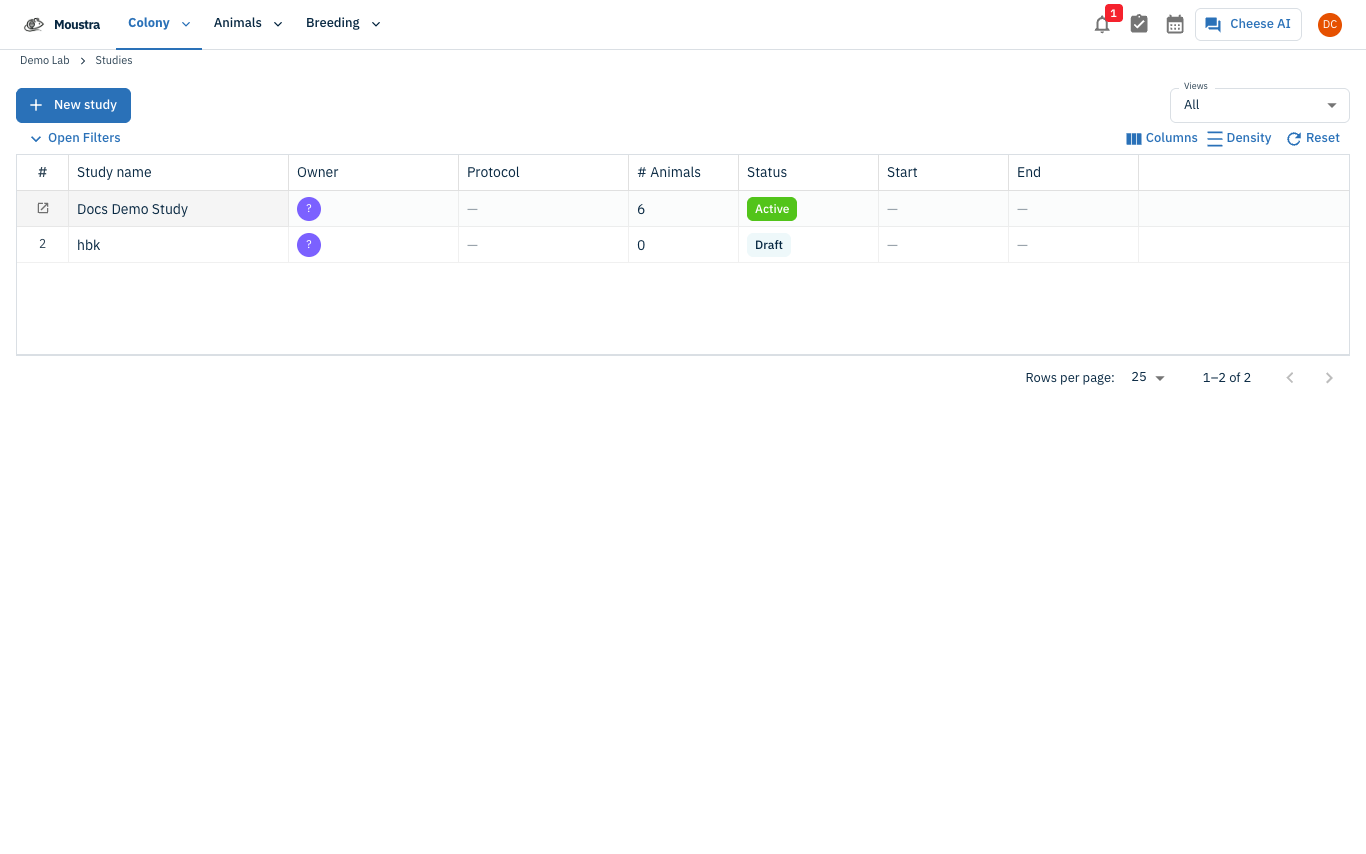
Name the study
In the Study name field, type a clear, unique name for your study. This is the only required field — you cannot save without it.
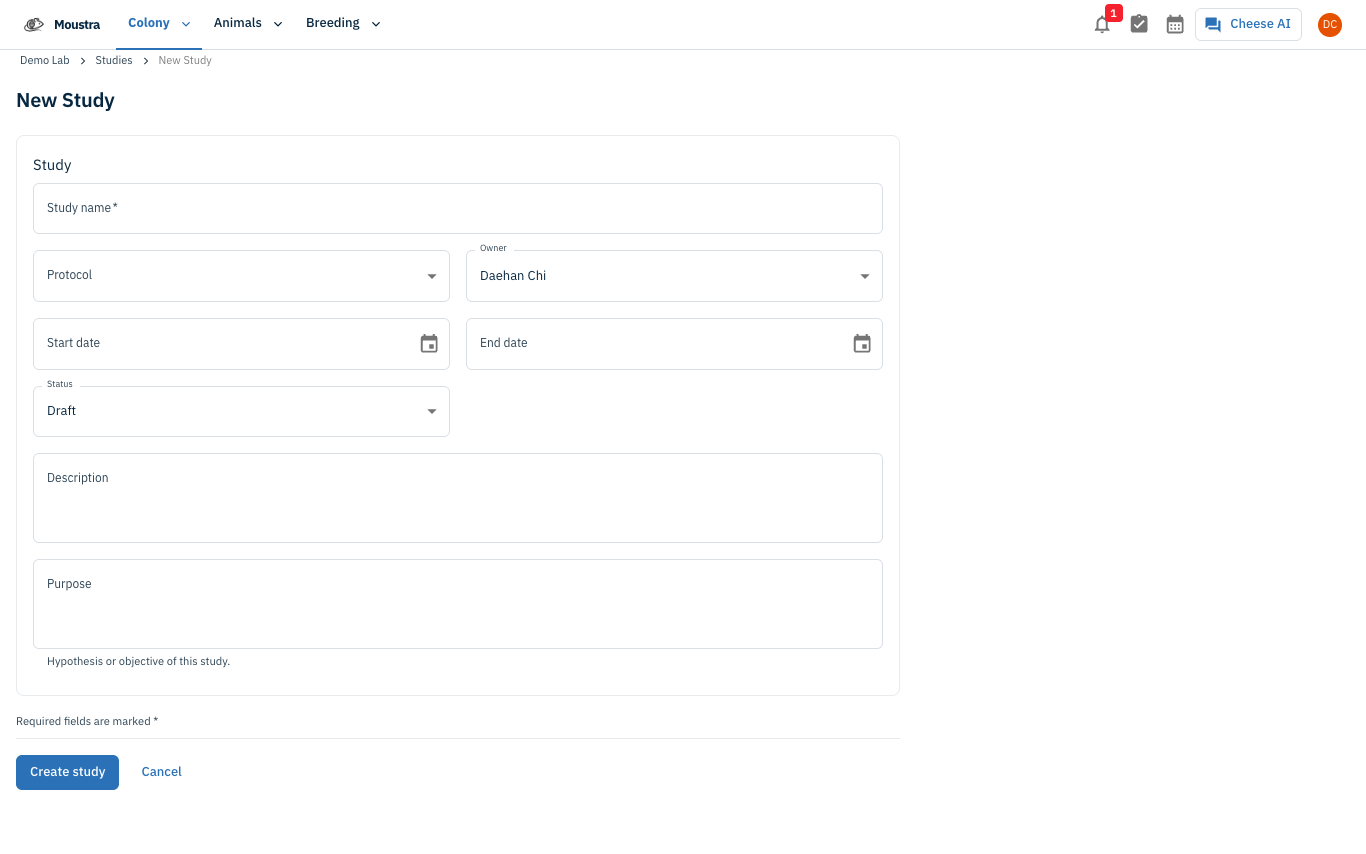
Fill in the study details
Complete the remaining optional fields as needed:\n\n- Protocol — pick an approved protocol from the dropdown, or leave it as None.\n- Owner — defaults to you; reassign it to another lab member.\n- Start date / End date — set the study's planned window.\n- Status — choose Draft, Active, Completed, or Archived. New studies default to Draft.\n- Description — a free-text summary of the study.\n- Purpose — the hypothesis or objective of the study.
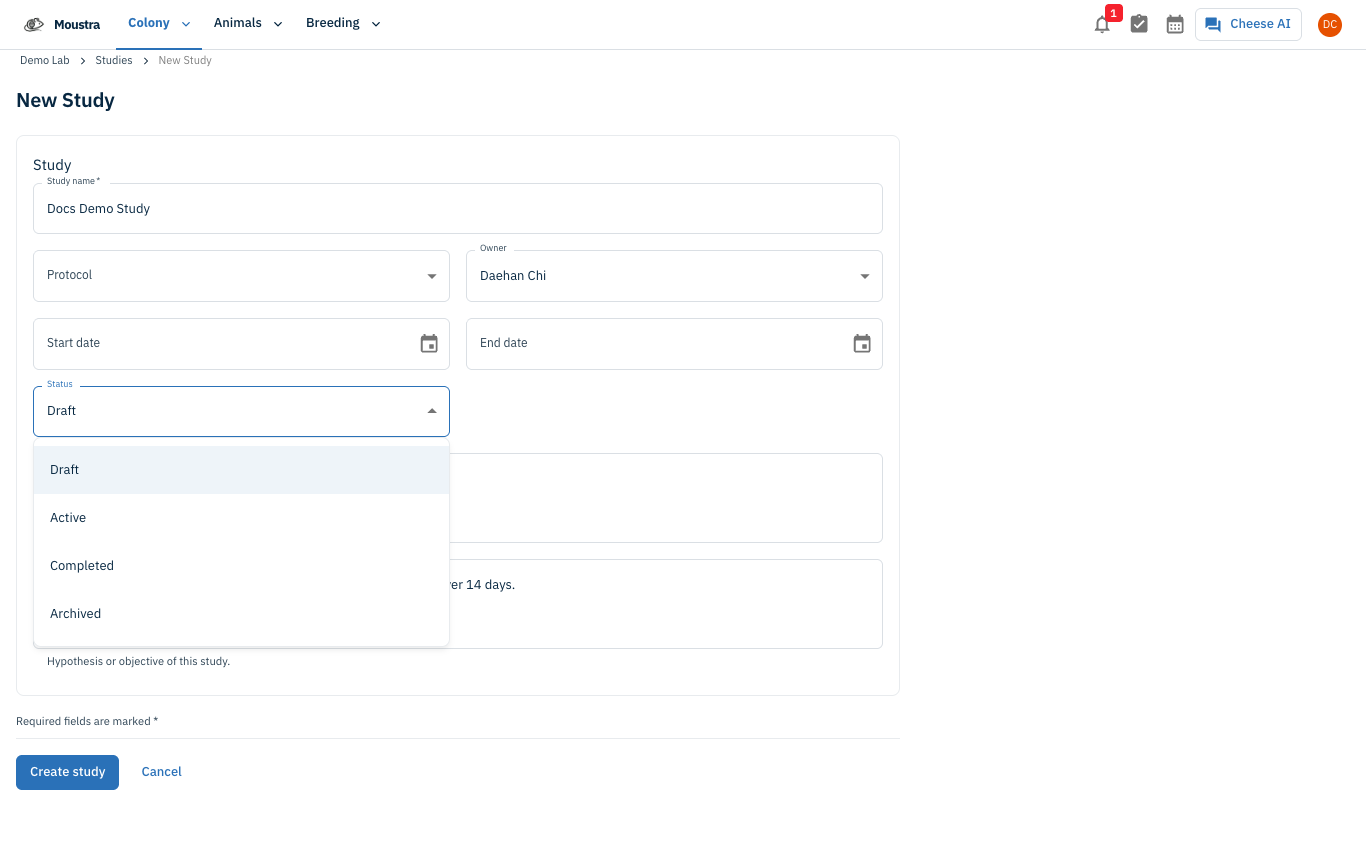
Create the study
Click Create study at the bottom of the form. Moustra saves the study, shows a "Study created successfully" confirmation, and navigates you to the new study's detail page.
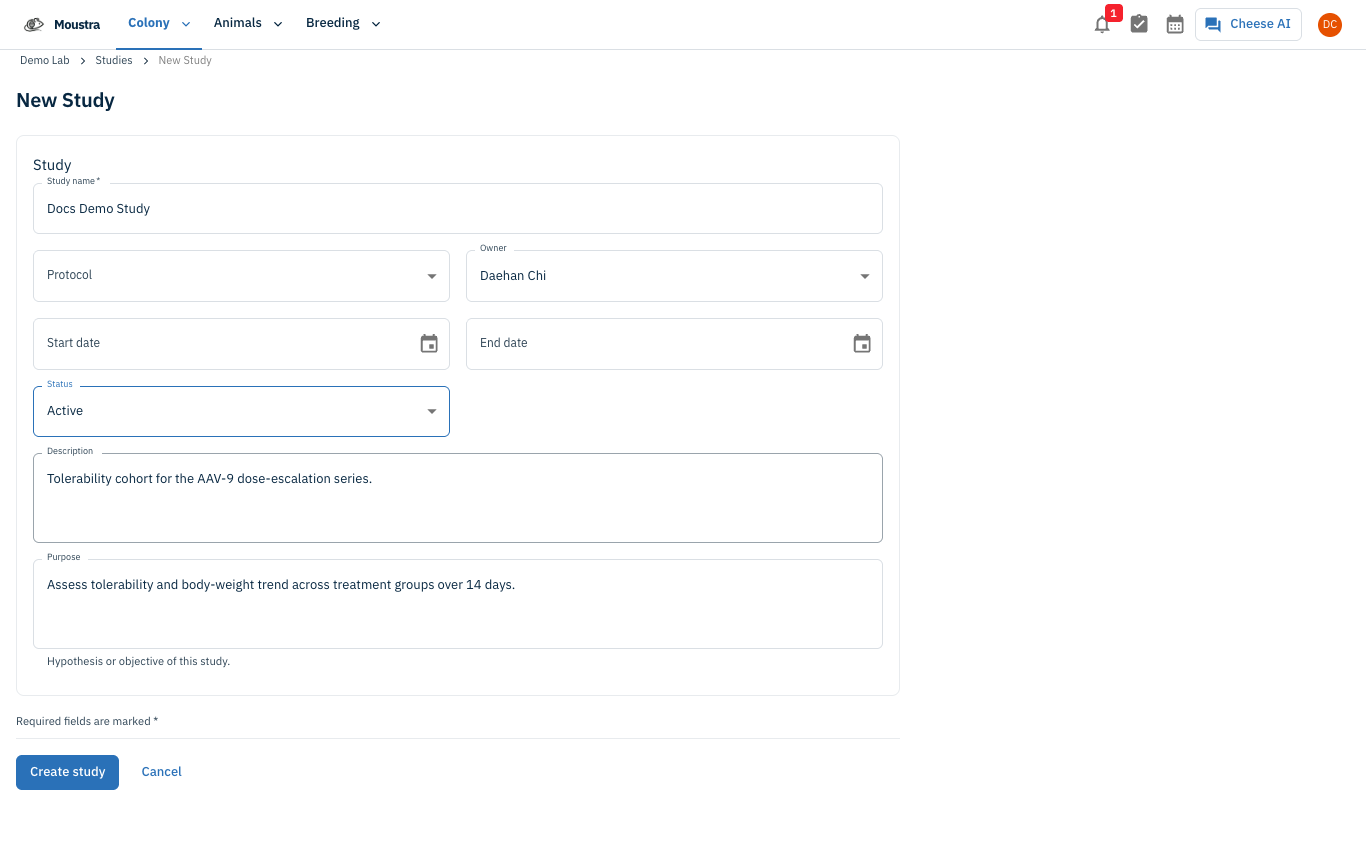
Land on the Overview tab
You arrive on the study's Overview tab at
/study/<id>. The header shows the study name and a status chip, and the Overview tab displays KPI cards (Animals, Active animals, Excluded animals, Groups, Open time-points, Alerts) plus a Study details panel. From the tab strip you can move on to Animals, Groups, Timeline, Measurements, Treatments, Reports, and more.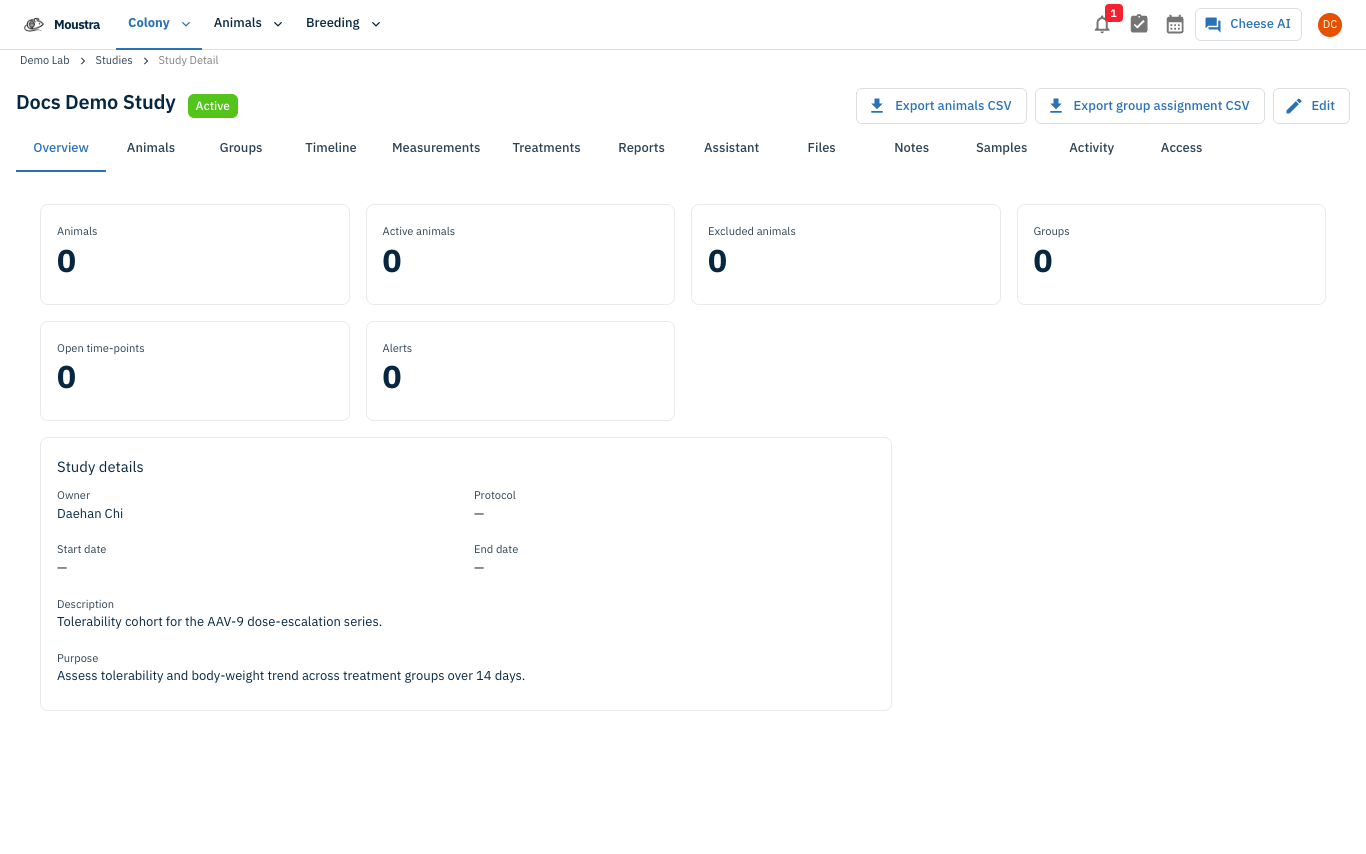
More in Advanced
Quick Edit Cell
Edit values directly in any data grid: double-click an editable cell and Moustra shows the right input (text, number, date, or dropdown). Press Enter to save or Escape to cancel.
How to Print Cage Cards
Print cage labels with animal tags, strain, and IACUC information for physical cage identification.
How to Connect Slack
Receive real-time notifications in Slack for litters, weans, and colony milestones without logging into Moustra.