How to Use the Rack View
See your whole room at a glance. The Rack View lays out every cage in a rack as a tile grid, so you can find a cage, inspect what's inside, and act on it without leaving the page.
Open the Rack page
Click Racks in the navigation menu to open the rack grid for your lab.

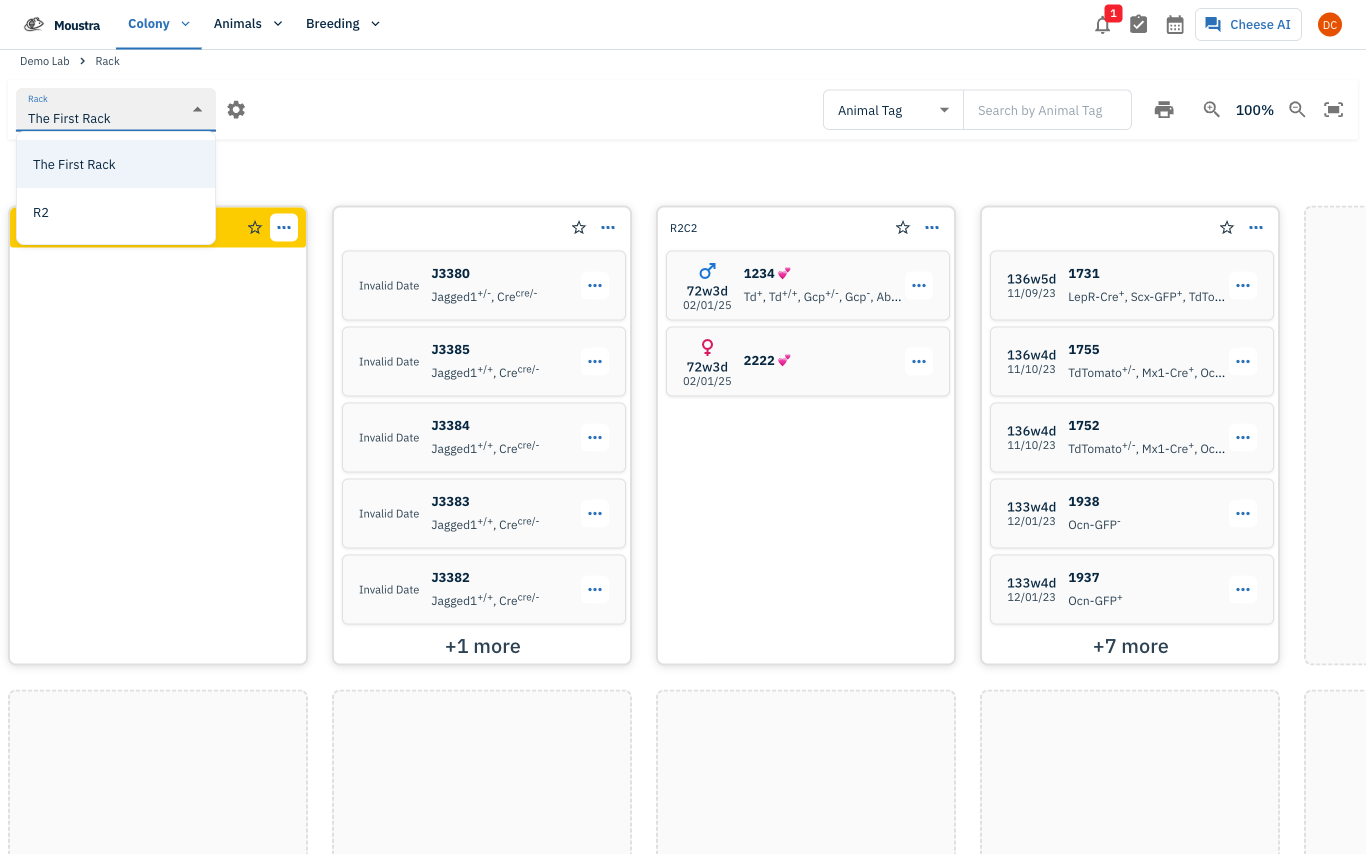
Switch between racks
Use the Rack dropdown at the top-left to switch racks. Racks are grouped under their room names.
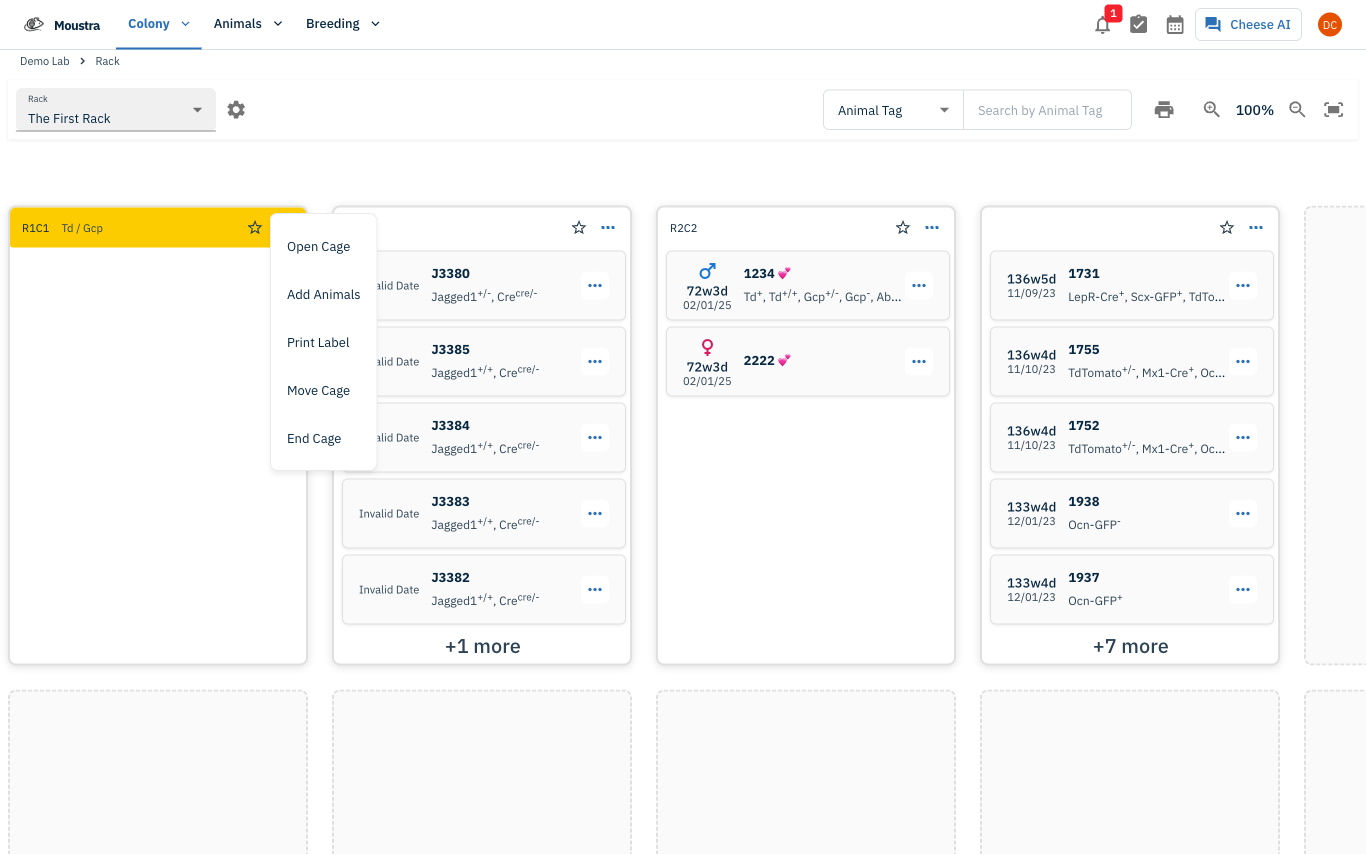
Act on a cage tile
Each tile shows the cage tag, strain (colored header), and the animals inside. Click the ⋯ menu on a tile for actions: Open Cage, Add Animals, Print Label, Move Cage, or End Cage.
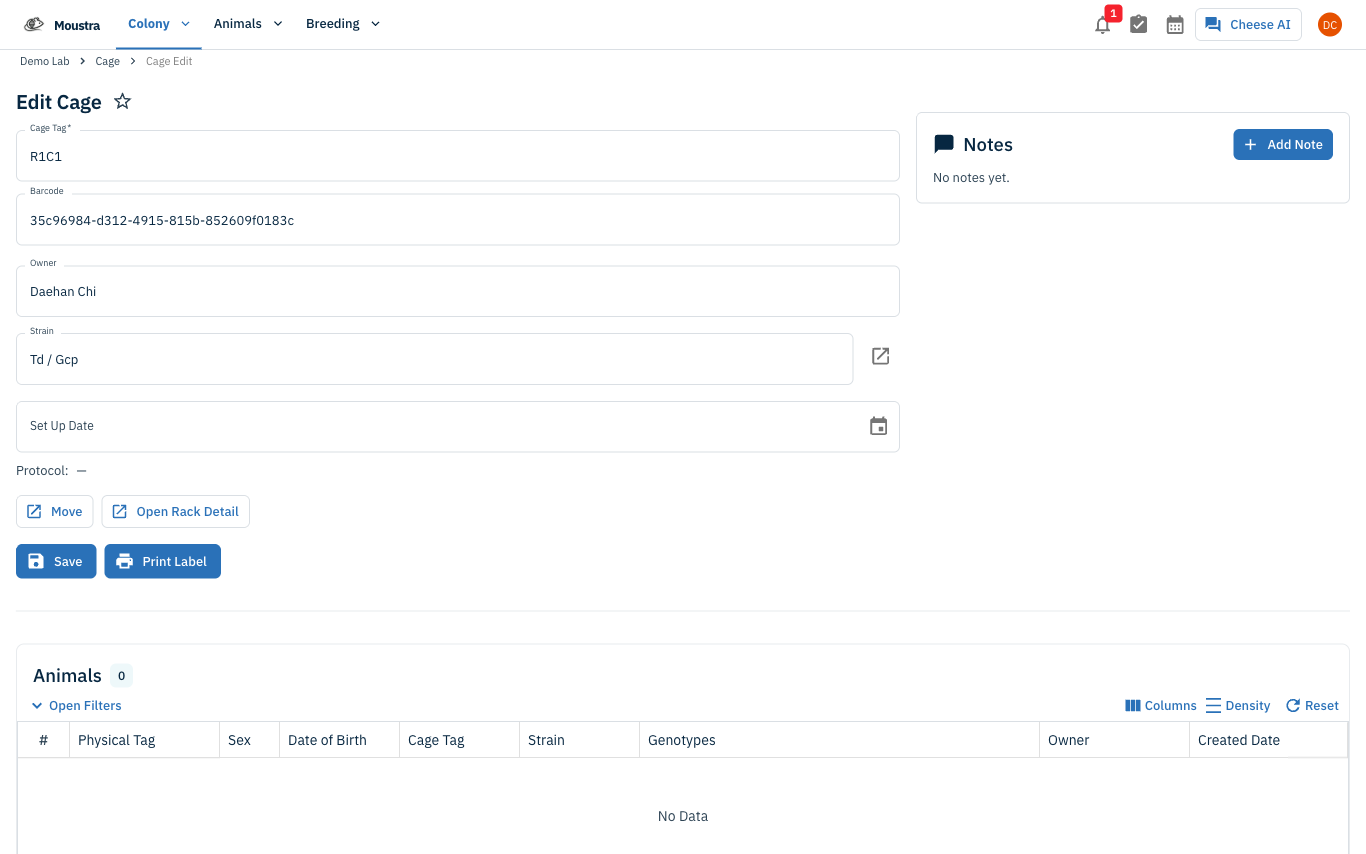
Open a cage's detail
Choose Open Cage to jump to that cage's detail page, where you can view and edit the animals it houses.
More in Navigation
How to Use the Cage Grid
See all the cages in a rack in a visual, spatial layout that mirrors your physical rack — check occupancy and animal counts and spot empty slots at a glance.
How to View the Family Tree
Visualize an animal's lineage and offspring to understand genetic relationships and plan breeding pairs.
How to Set Up IACUC Protocols
Create IACUC protocols with species limits so Moustra tracks approved animal usage and prevents exceeding caps.