How to Migrate Your Data
Bring an existing colony into Moustra by importing CSV files. The AI-assisted importer detects your columns and date formats, suggests a mapping to Moustra fields, and lets you review before anything is created.
Open Data Migration
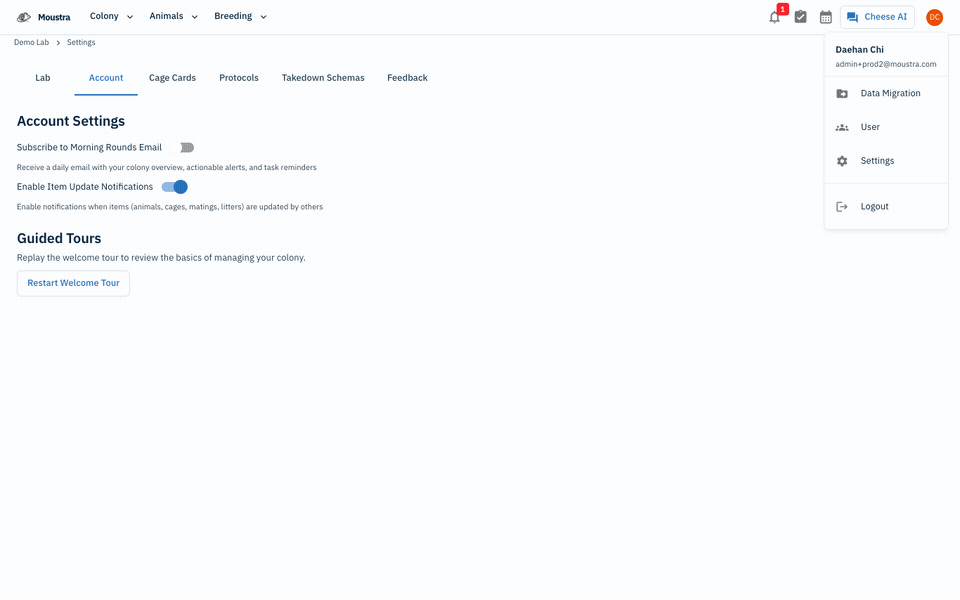
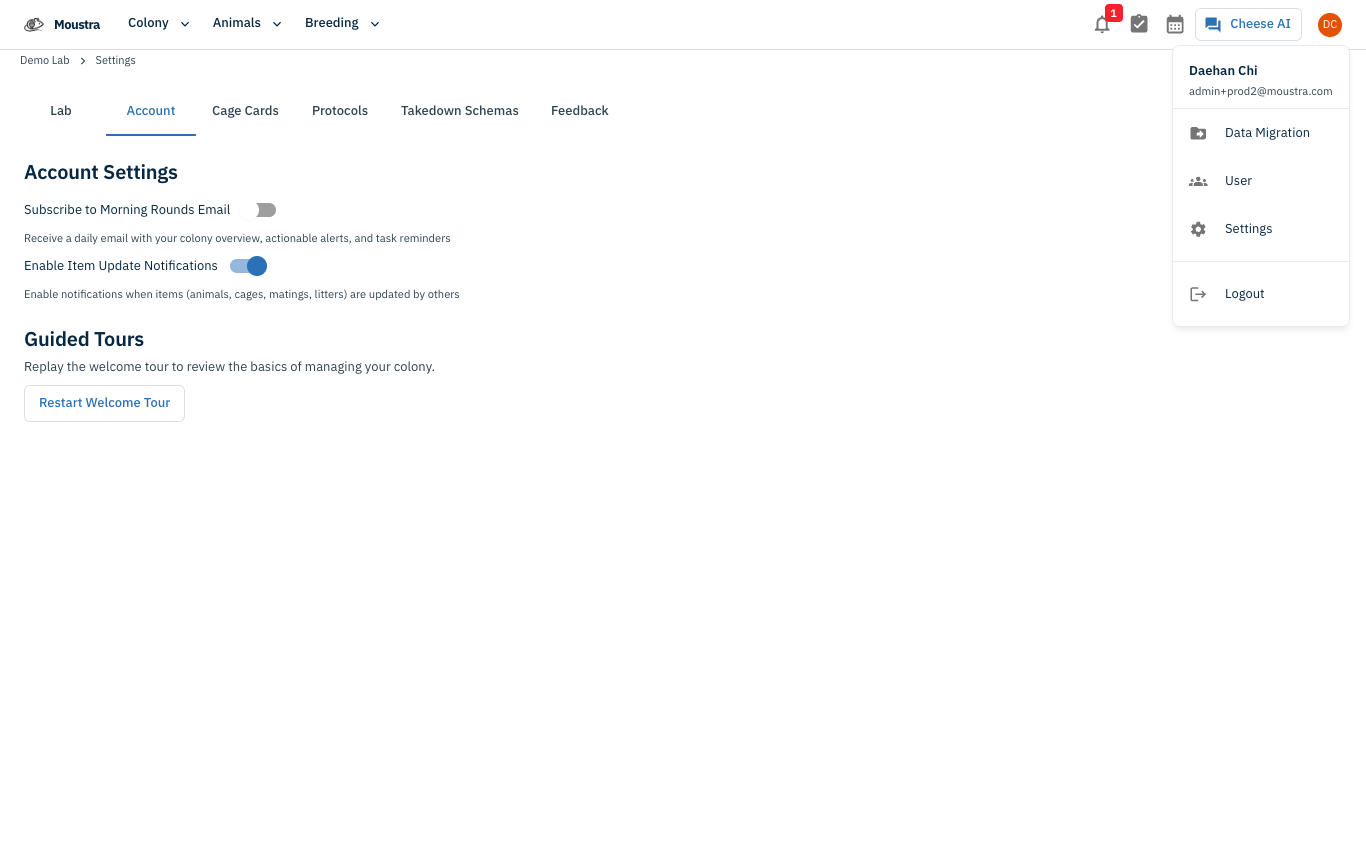
From your account menu (top-right avatar) choose Data Migration to open the importer. It has a Migrate Data tab and a Migration History tab.
Upload a CSV
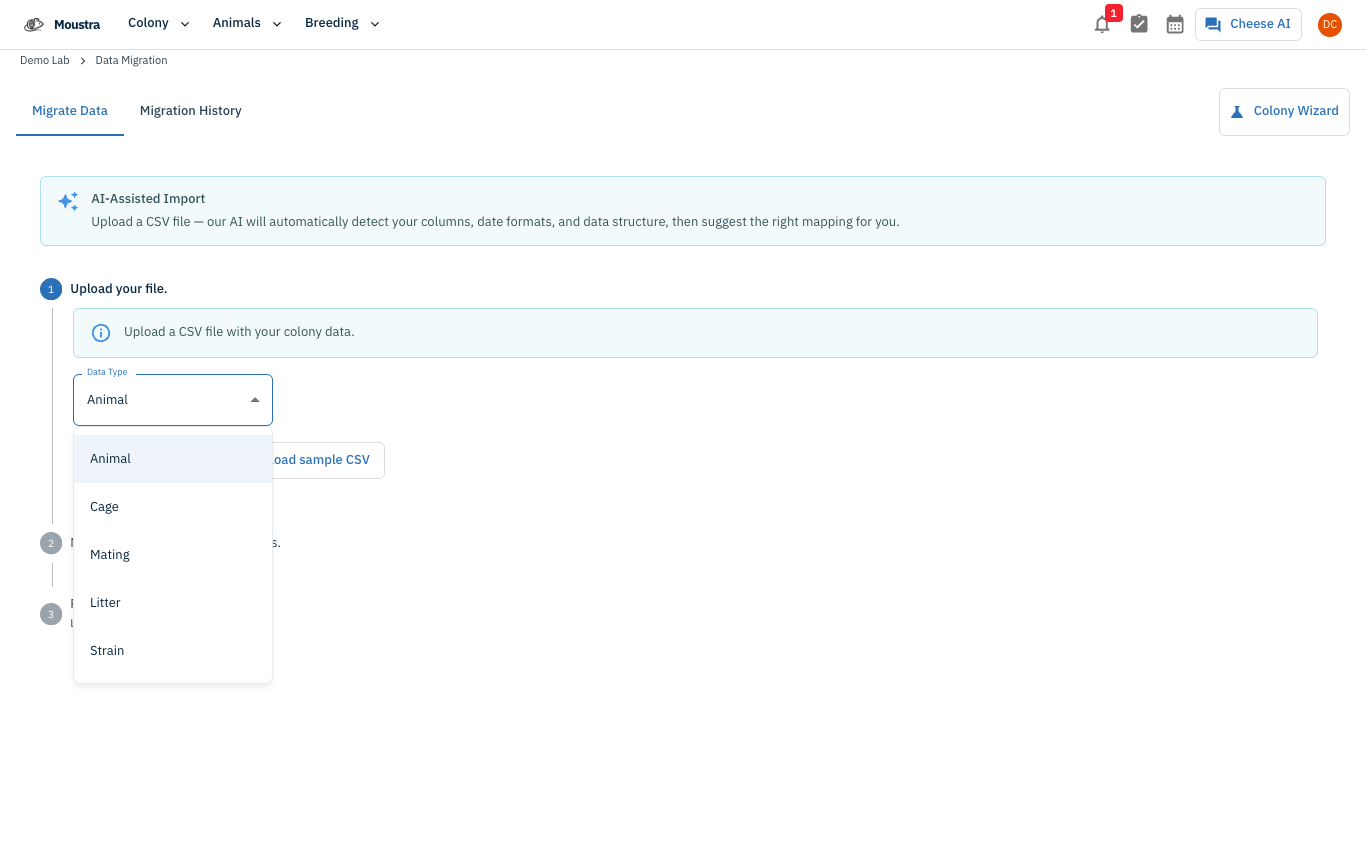
On Migrate Data, click Upload file to select a CSV of your colony data. Use Download sample CSV to see the expected format. The importer runs in three steps: upload, map columns, and review & confirm.

Pick the data type, then map and confirm
Set the Data Type — Animal, Cage, Mating, Litter, or Strain — and import each type from its own CSV. After upload, Moustra's AI maps your columns to Moustra fields for you to confirm, then you review and confirm before the records are created.
More in Editing your colony
How to Create a New Animal
Step-by-step instructions for adding a new animal, including key fields and tips.
How to Add a New Strain
This guide will walk you through the process of creating a new strain entry in Moustra.
How to Add Breeding Animals
This guide will walk you through the process of creating multiple breeding animals at once in Moustra.