How to Manage Genes and Alleles
Genes and alleles are your lab's shared genotype vocabulary. They are managed inline in the Genotypes panel on any animal or strain — add a gene, add its alleles, and they become available across every animal.
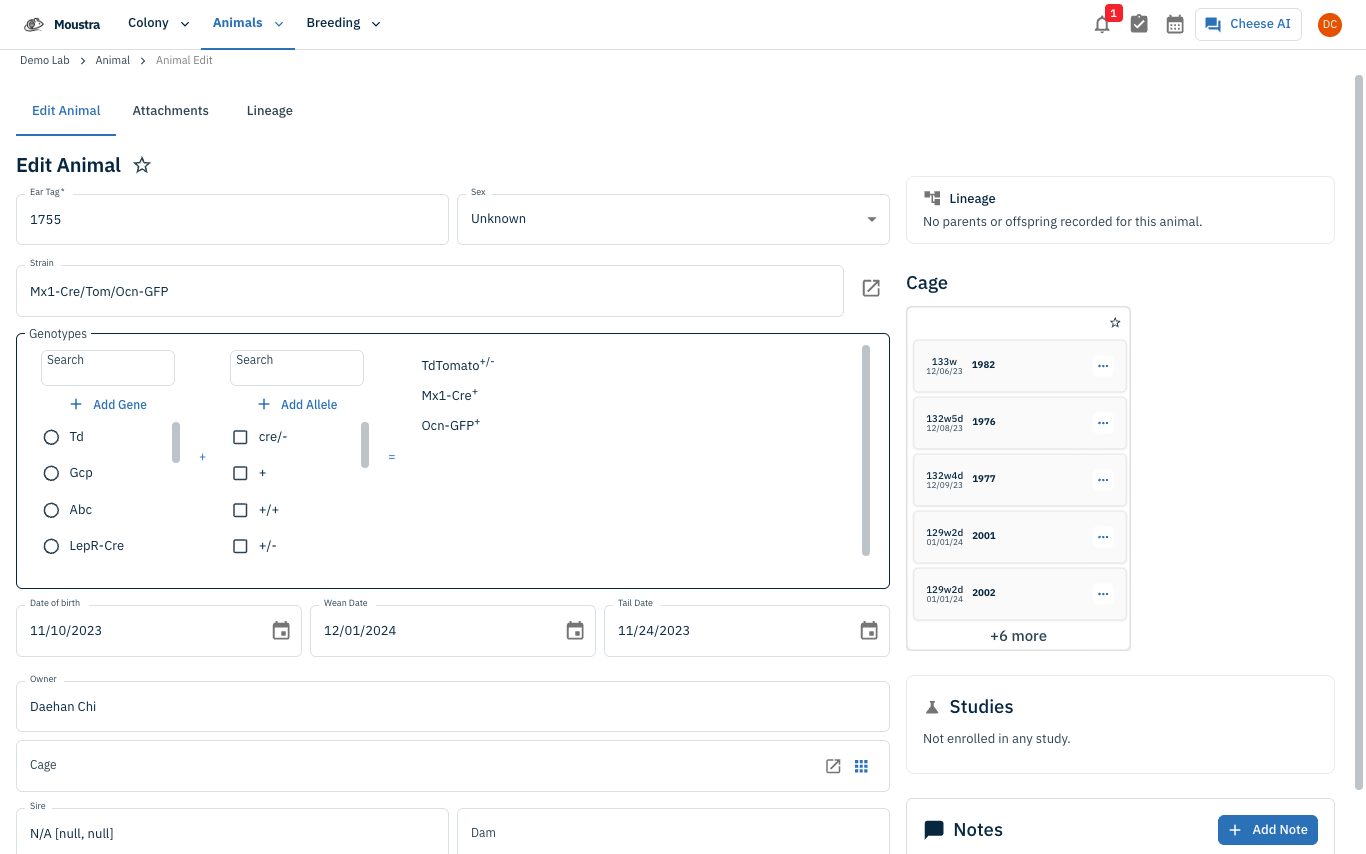
Open the Genotypes panel
Open any animal's Edit page (or a strain) and find the bordered Genotypes section. The left Gene and middle Allele panels list every gene and allele your lab has registered, each with a Search box to filter.
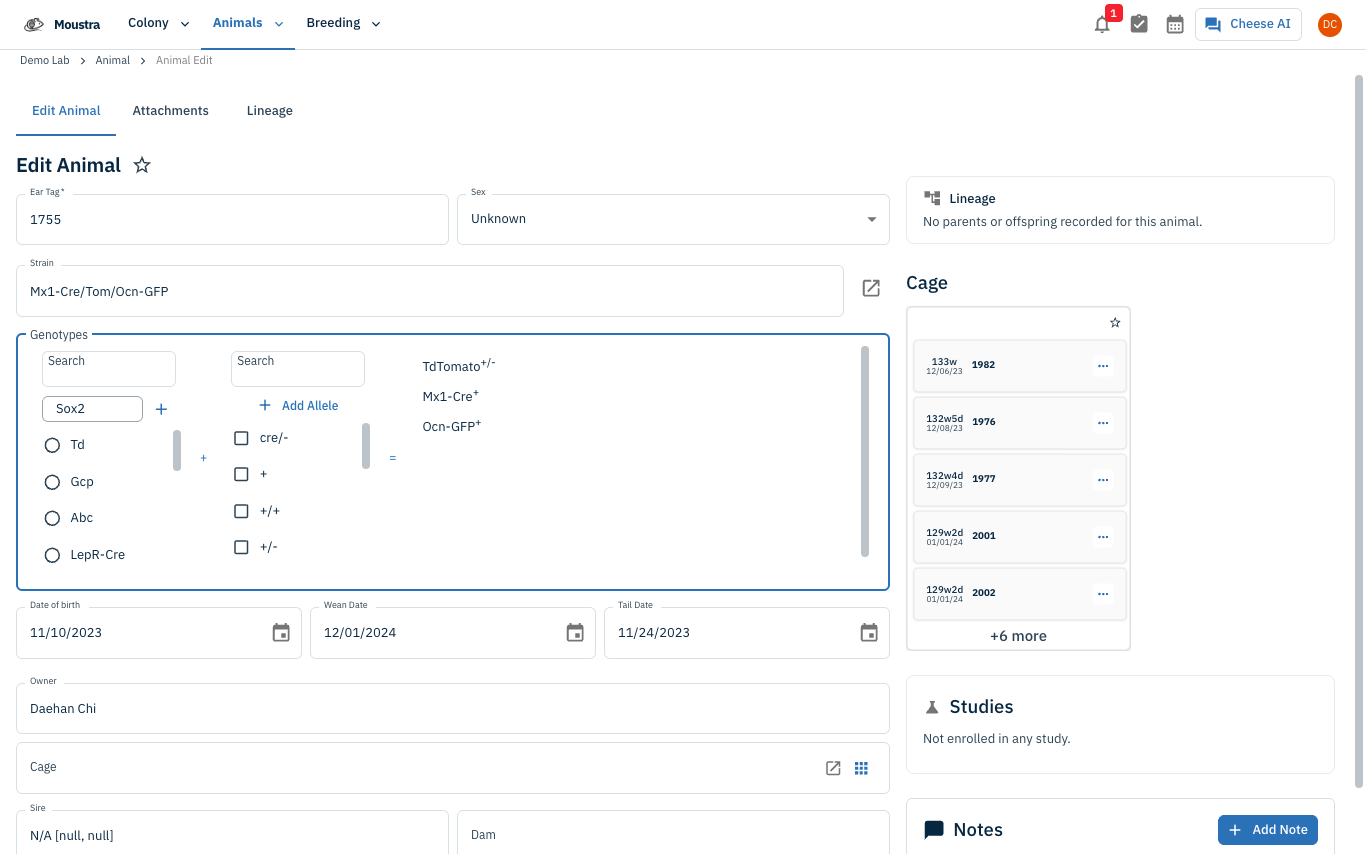
Add a gene
Click Add Gene, type the gene name (e.g. Sox2), and press Enter. The gene is created account-wide and auto-selected.
Add an allele
Click Add Allele, type a short allele label (e.g. flox), and press Enter. It becomes available to combine with any gene. Hover a gene or allele row to reveal a trash icon to delete it.

More in Editing your colony
How to Create a New Animal
Step-by-step instructions for adding a new animal, including key fields and tips.
How to Add a New Strain
This guide will walk you through the process of creating a new strain entry in Moustra.
How to Add Breeding Animals
This guide will walk you through the process of creating multiple breeding animals at once in Moustra.