How to Use the Plug Events Page
Track copulation plugs and pregnancy timelines. Moustra computes the embryonic day (E-Day) and the expected delivery window for every plug, so you always know which litters are coming and when.
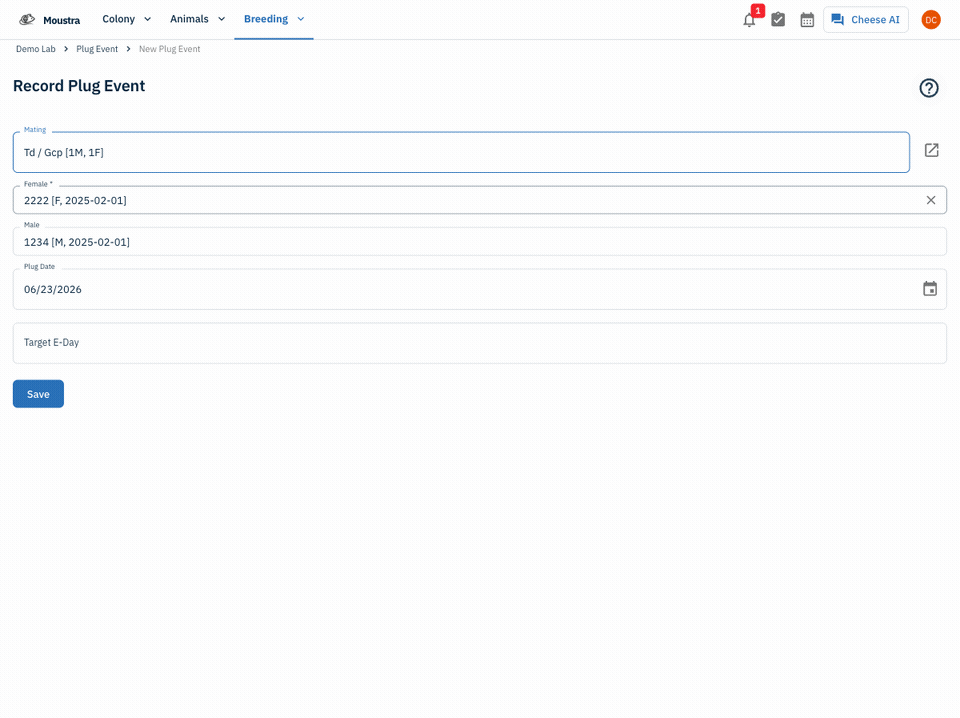
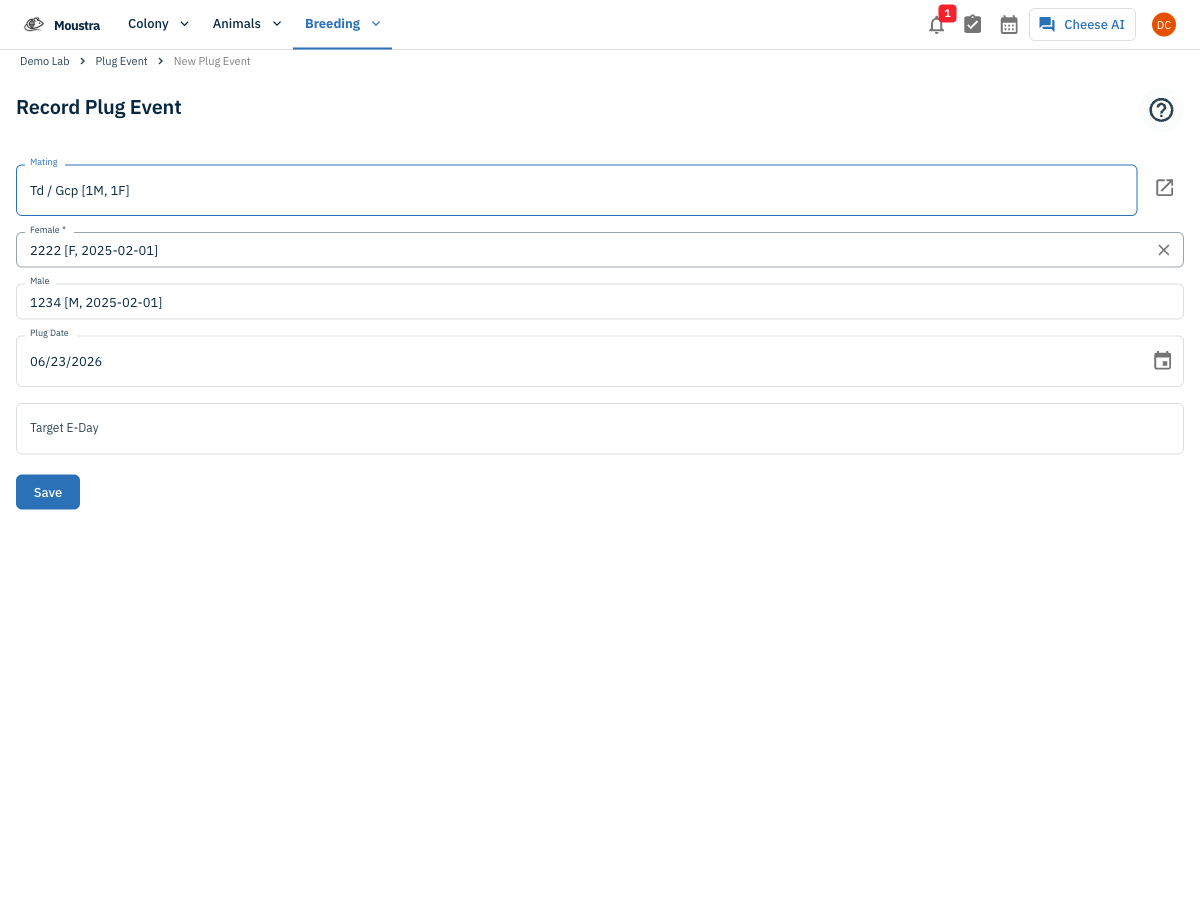
Record a plug
Click Record Plug, pick the Mating (the female and male auto-fill), set the Plug Date, and optionally a Target E-Day, then Save.
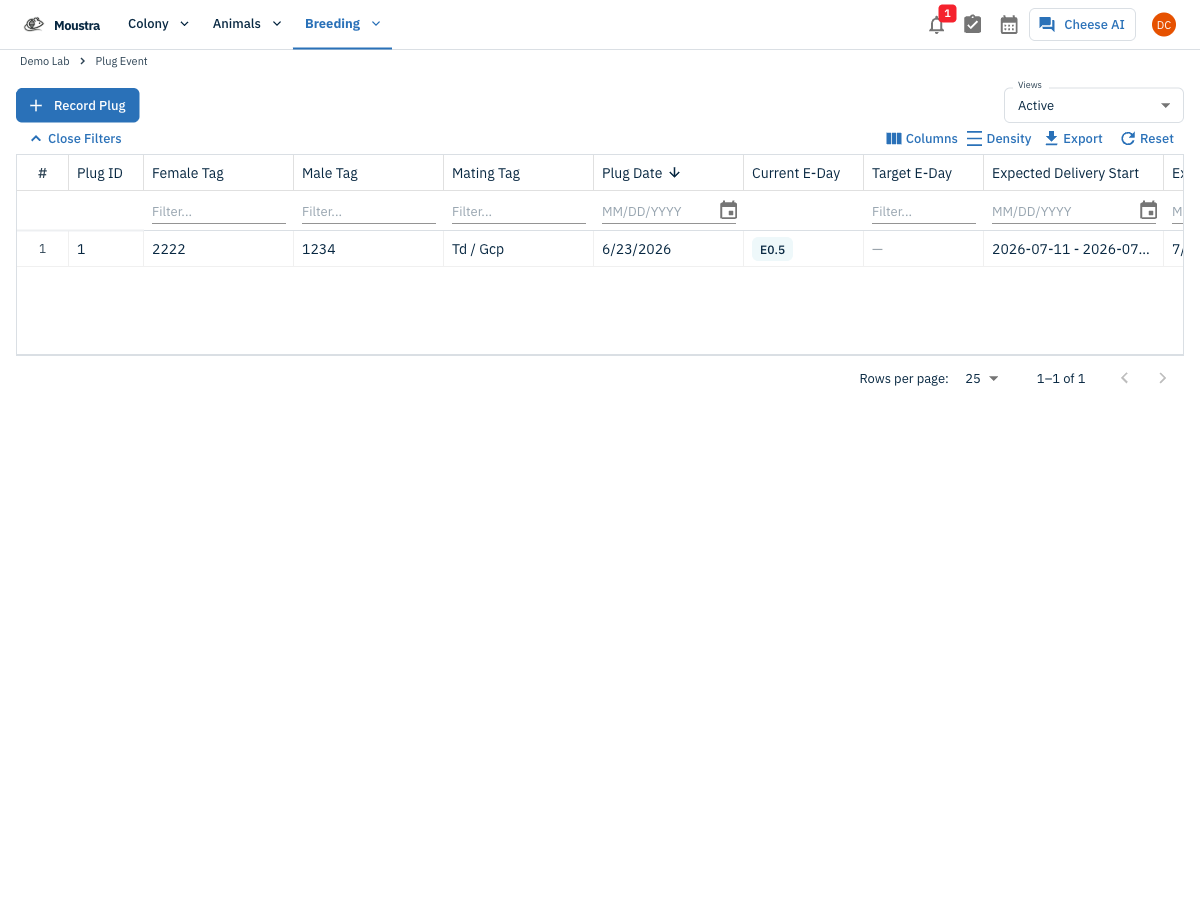
Review the Plug Events list
Each row shows the Female and Male, Mating, Plug Date, a live Current E-Day, the Target E-Day, and the computed Expected Delivery window. Sort or filter by any column.
Open a plug to see its timeline
Click a row's Open record to see the E-Day badge, the expected delivery window, the parents, and the available actions.
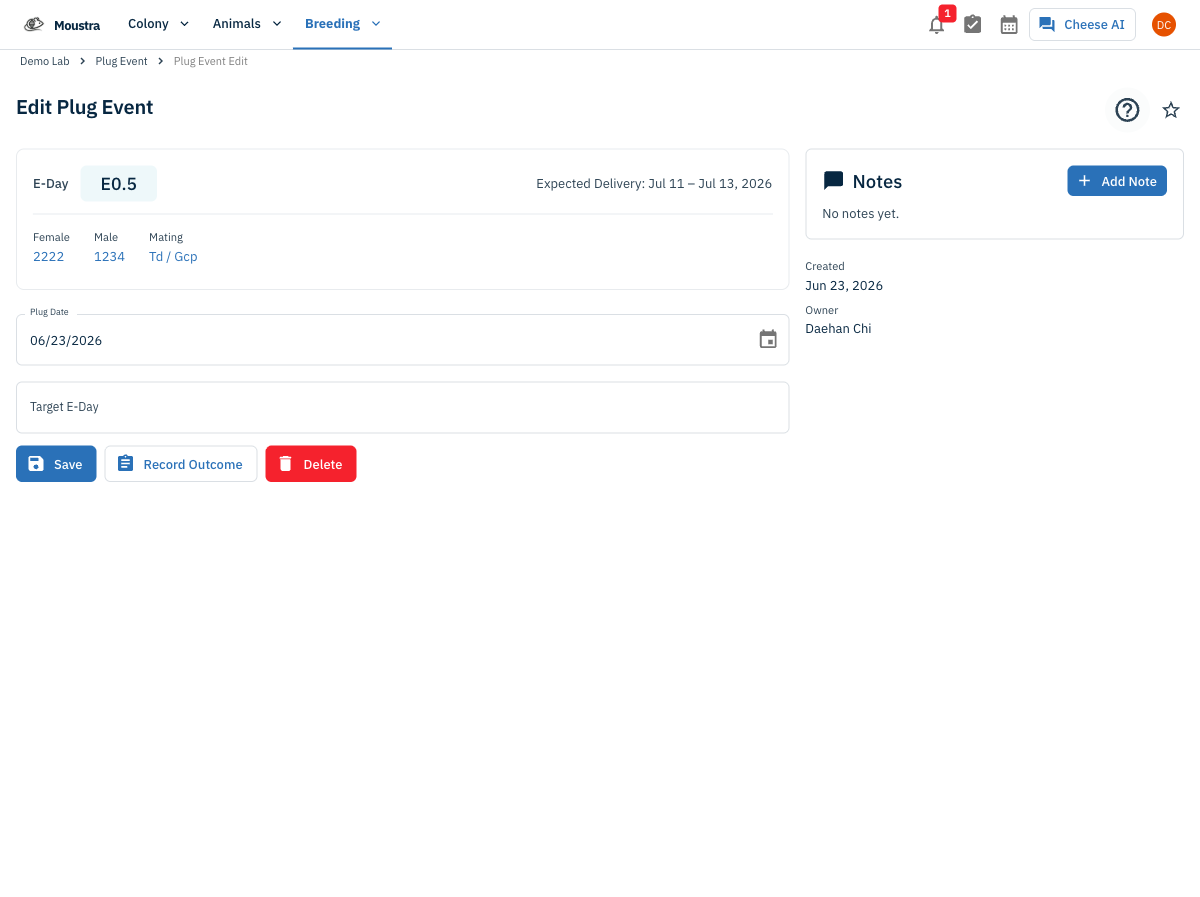
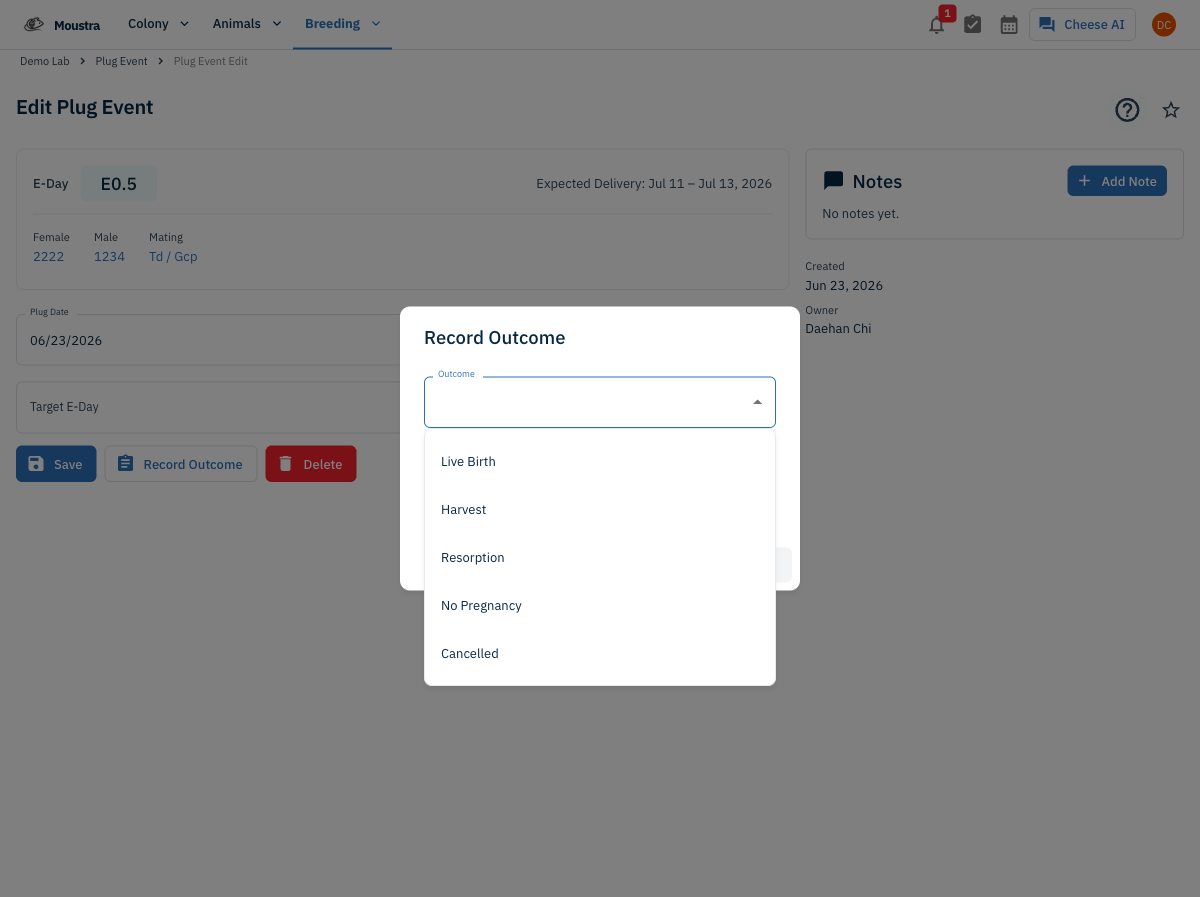
Record the outcome
Click Record Outcome and choose the result — Live Birth, Harvest, Resorption, No Pregnancy, or Cancelled — with an outcome date, then Save to close out the plug.
Export your plug events
Use Export in the toolbar to download the current (filtered) plug events as a spreadsheet.
More in Navigation
How to Use the Cage Grid
See all the cages in a rack in a visual, spatial layout that mirrors your physical rack — check occupancy and animal counts and spot empty slots at a glance.
How to View the Family Tree
Visualize an animal's lineage and offspring to understand genetic relationships and plan breeding pairs.
How to Set Up IACUC Protocols
Create IACUC protocols with species limits so Moustra tracks approved animal usage and prevents exceeding caps.