How to Customize Cage Card Templates
Cage card templates control what prints on the physical labels for each cage — cage and animal info, mating and litter details, an animal table, and an optional QR code or barcode. Moustra ships ready-made presets (Breeding Card, Stock Label, Experimental Card); duplicate one or start fresh, choose a card size, tick the fields you want, set a few style options, and a live preview shows the result as you go. Selecting a template in the list makes it the one used when you print cage cards.
Open Cage Card Templates
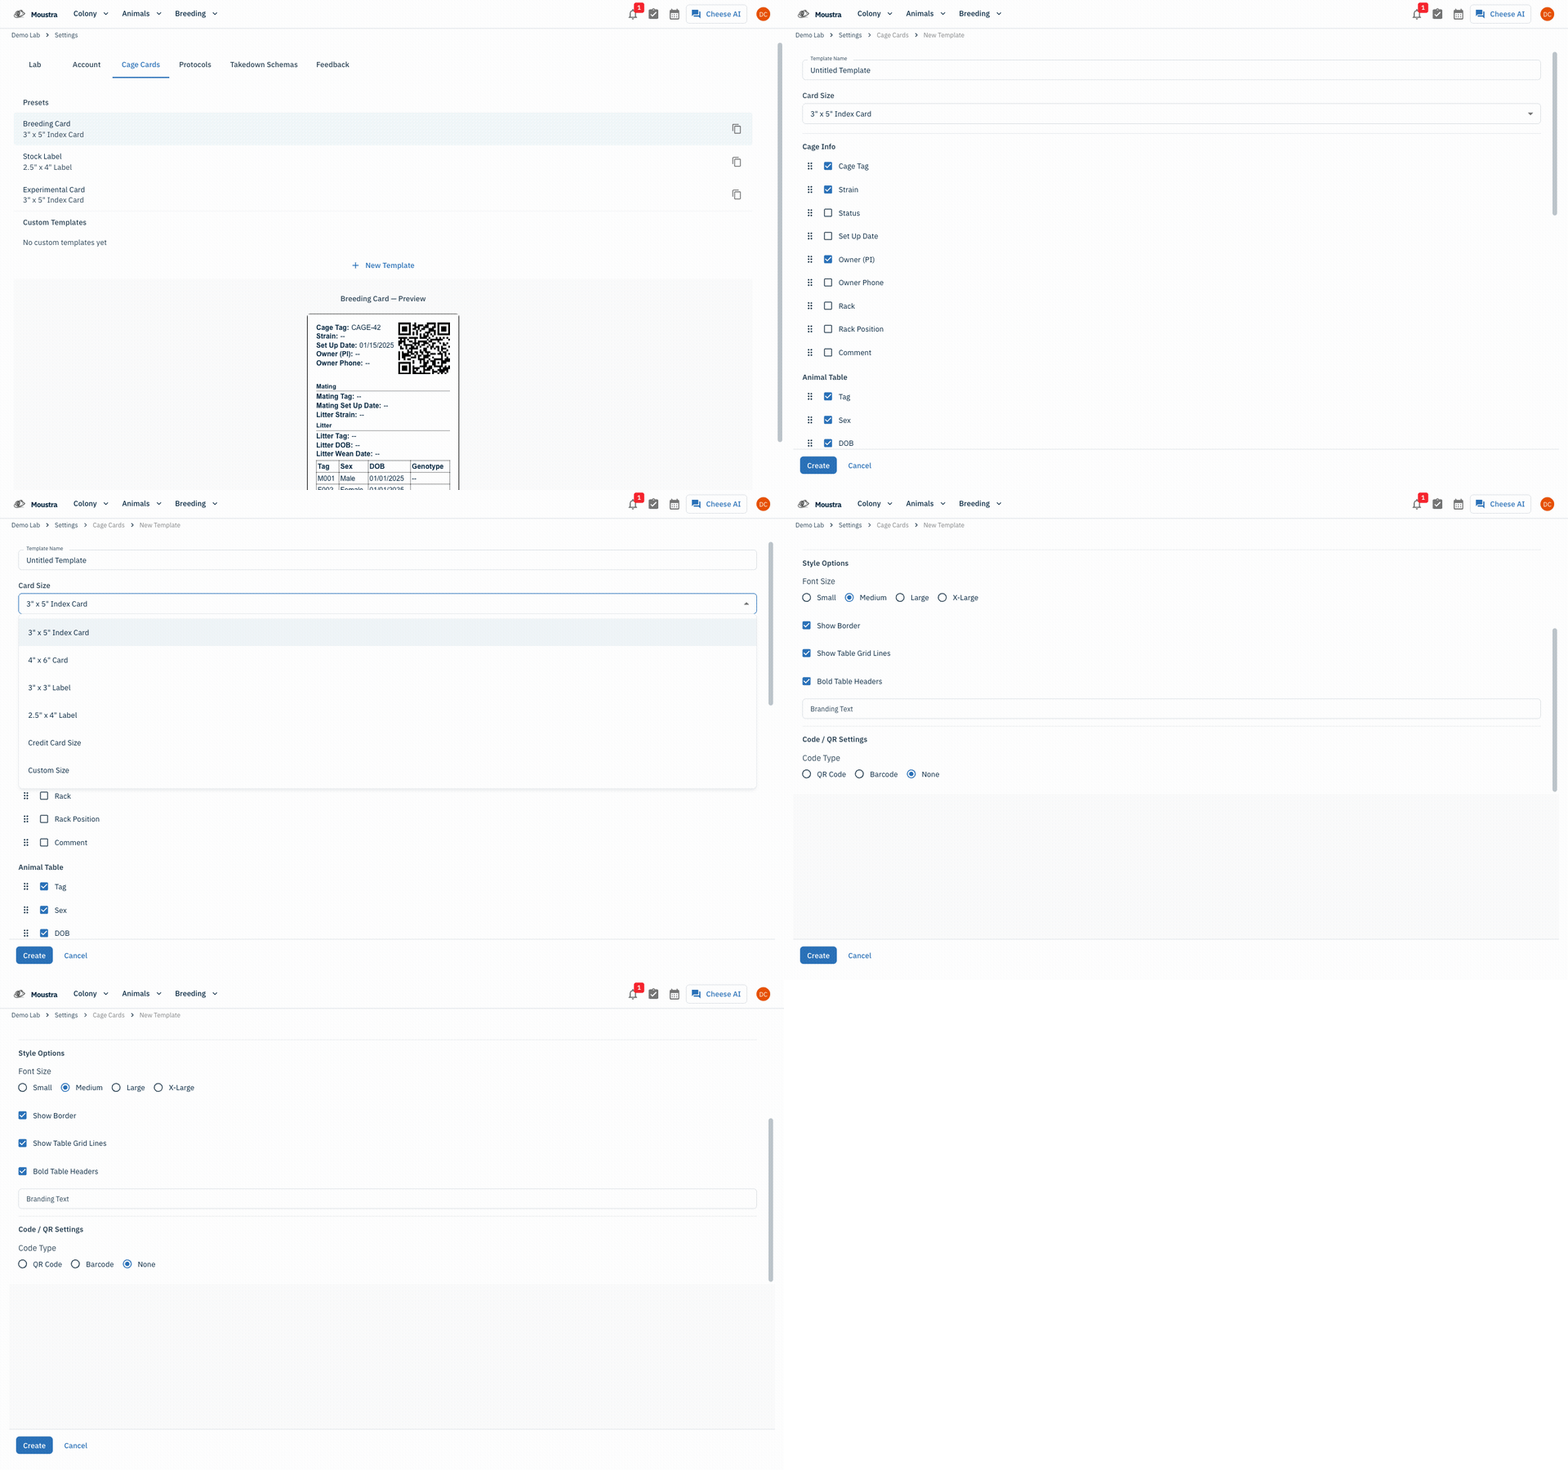
Click Settings in the navigation menu, then the Cage Cards tab. The left panel lists Presets (Breeding Card, Stock Label, Experimental Card) and your Custom Templates; selecting one shows a live preview on the right.
Start a template
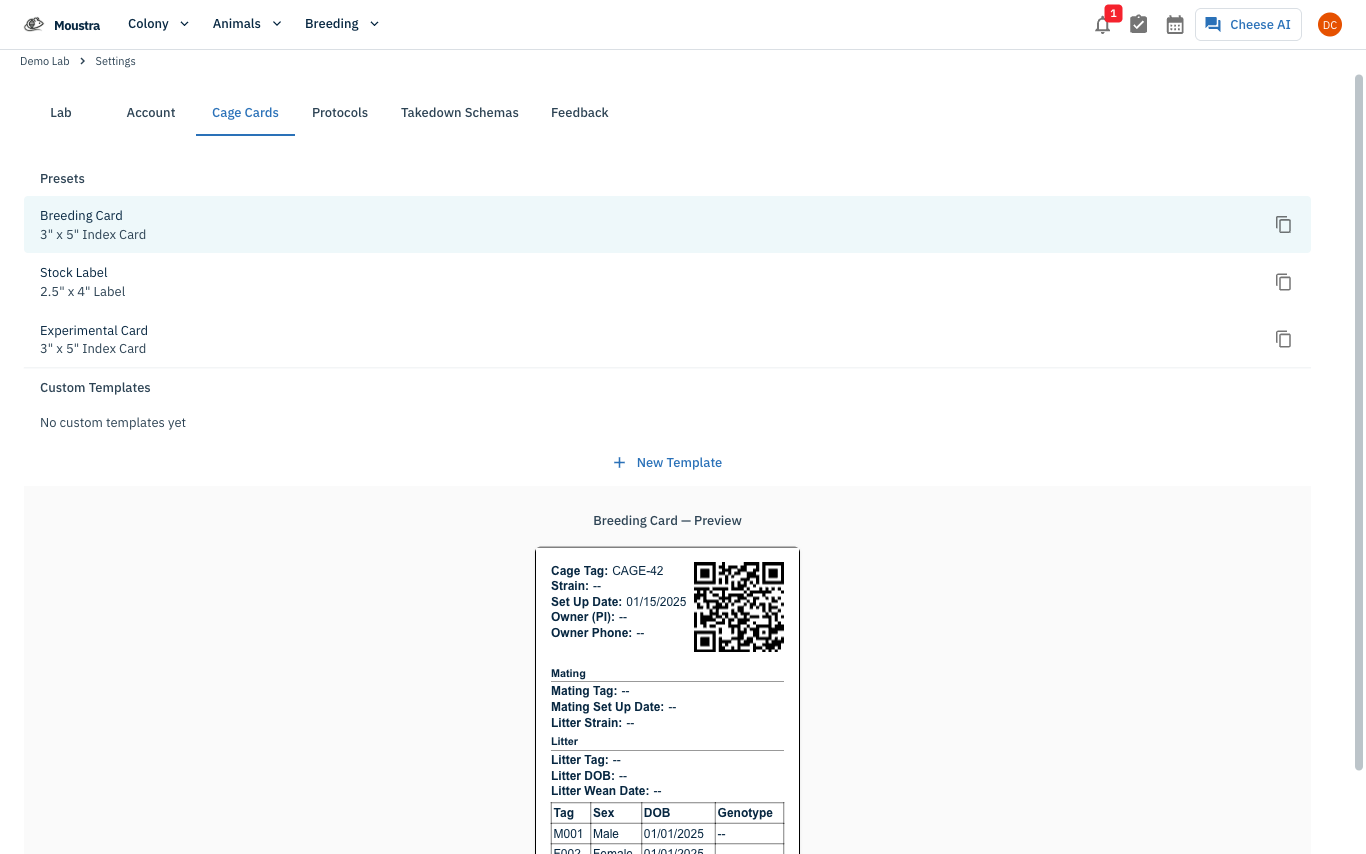
Click New Template to start fresh, or the Duplicate icon on a preset to copy it as a starting point. Give it a clear Template Name.
Choose the card size
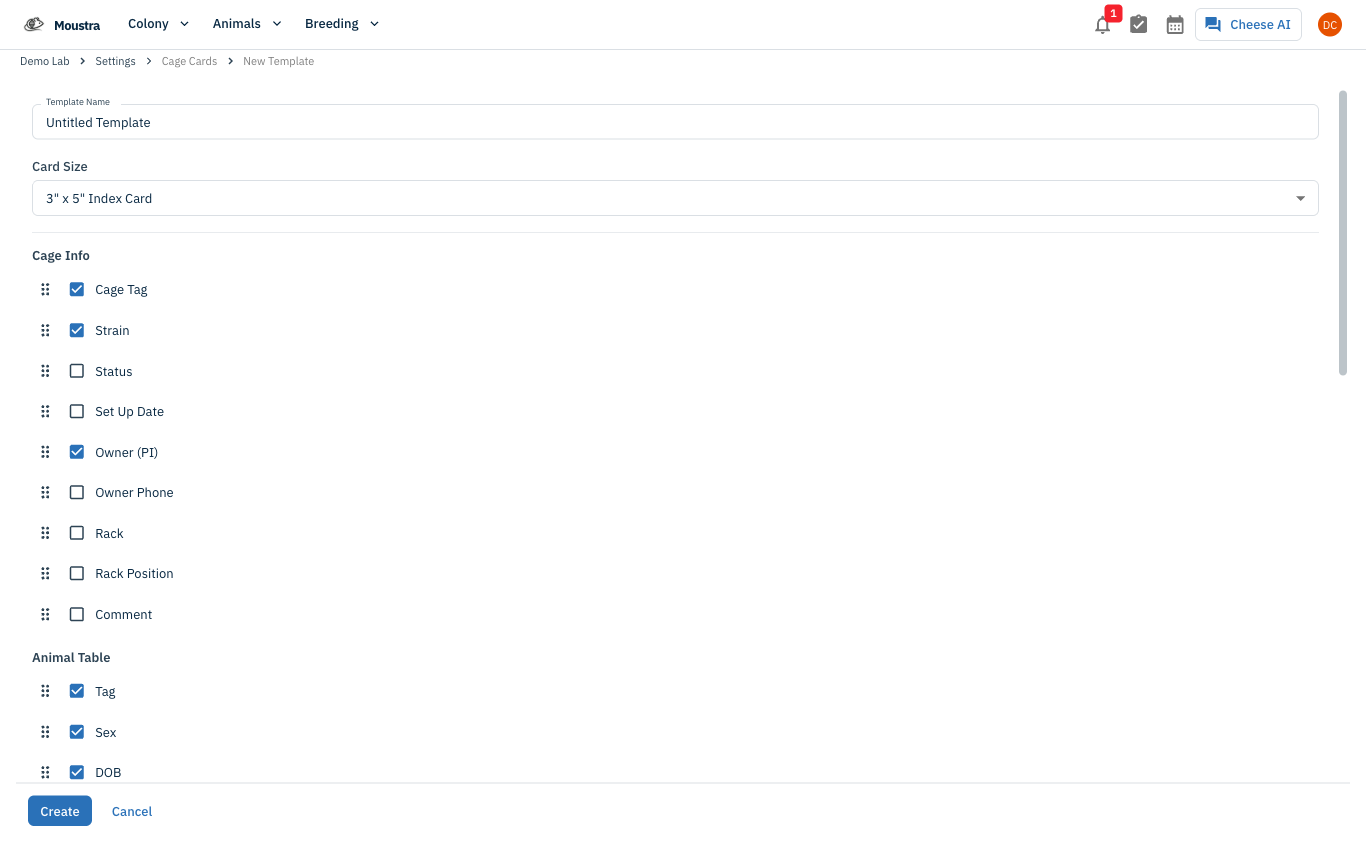
Open the Card Size dropdown and pick a preset size to match your cage card stock — 3" x 5" Index Card, 4" x 6" Card, 3" x 3" or 2.5" x 4" Label, Credit Card Size, or Custom Size.
Pick fields, style, and a code
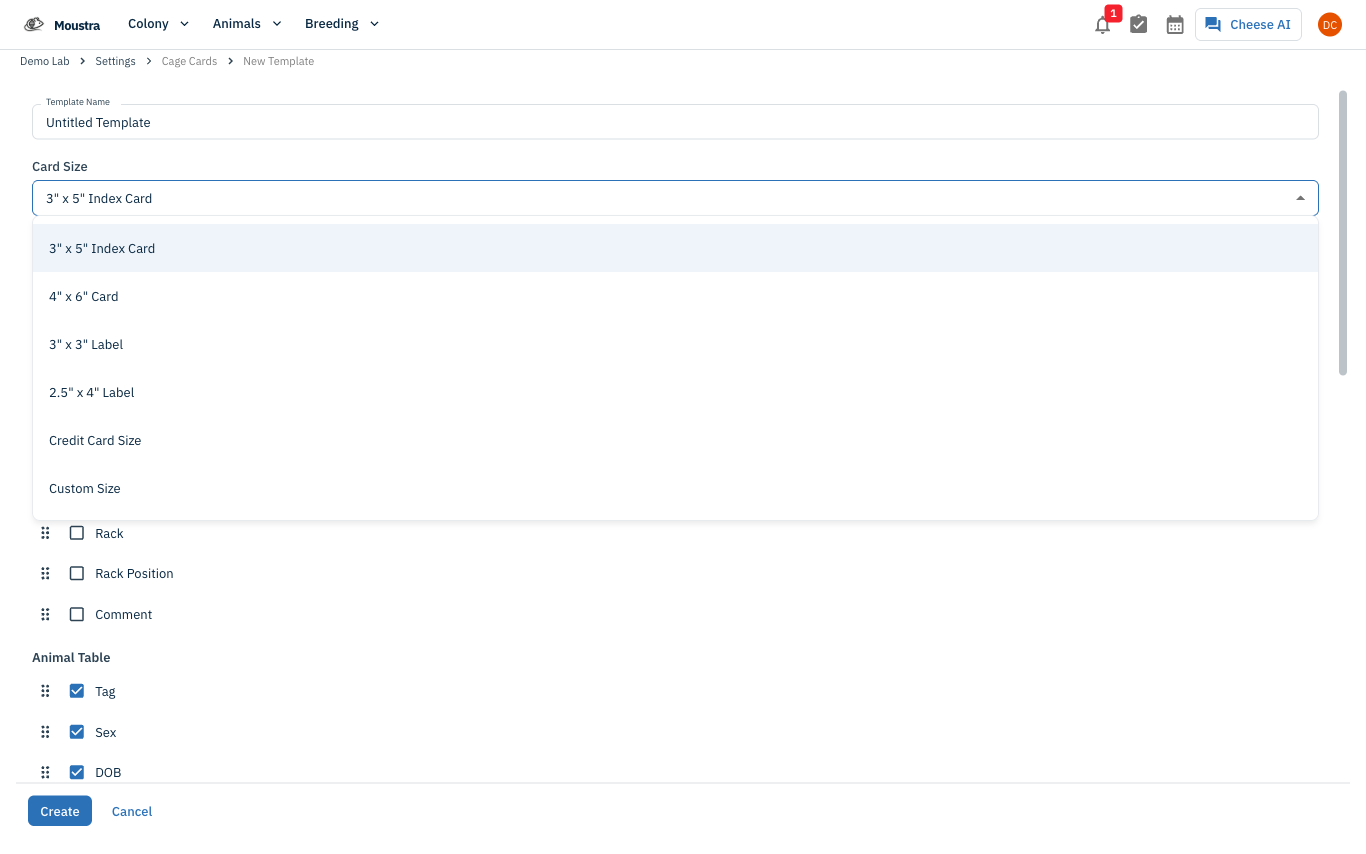
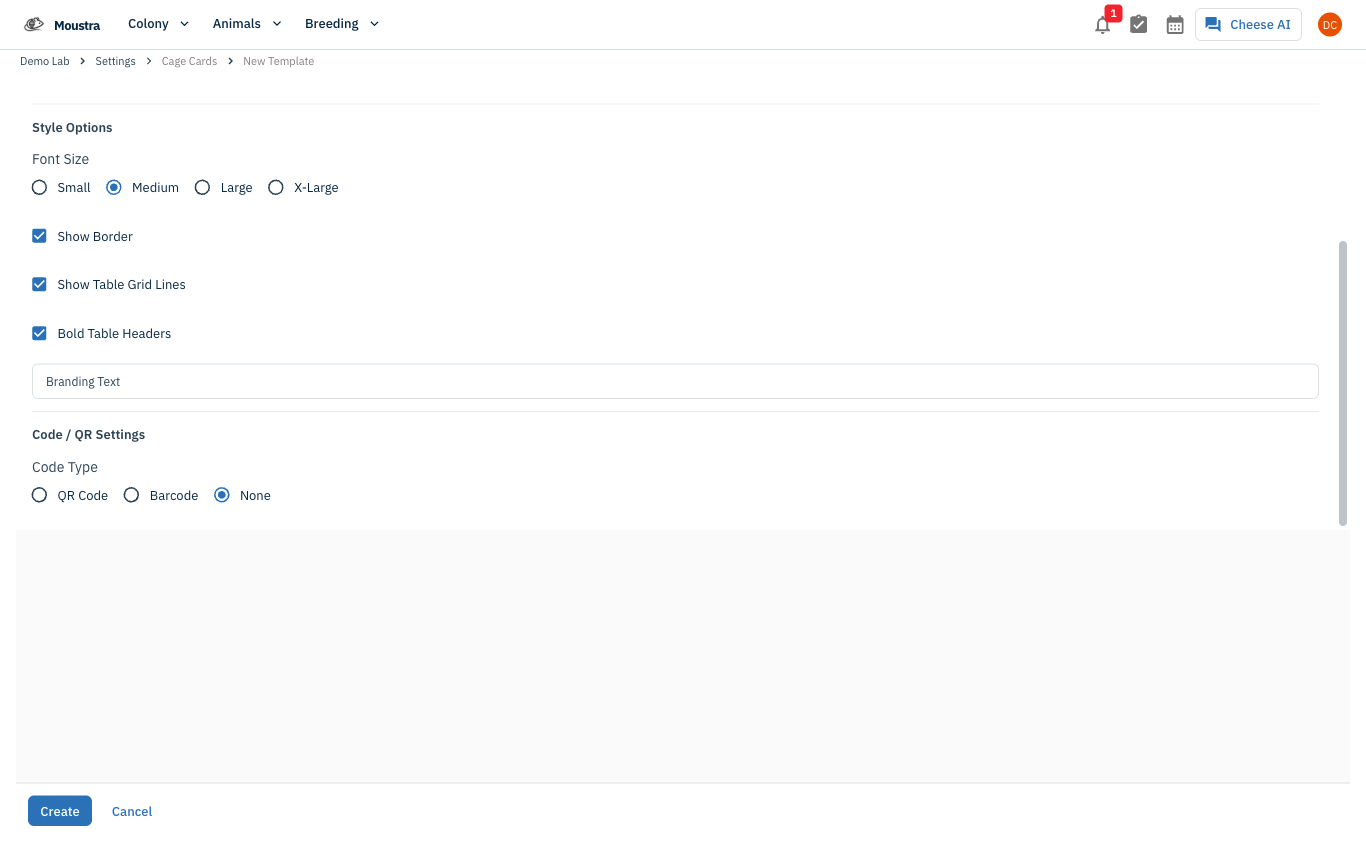
Tick the fields to include under Cage Info, Animal Table, Mating, and Litter (drag a row's handle to reorder). Set Style Options (font size, borders, branding text) and, if you scan cages, choose QR Code or Barcode under Code / QR Settings. Watch the Live Preview, then click Create (or Save). Pick the template in the list to use it when printing.
More in Advanced
Quick Edit Cell
Edit values directly in any data grid: double-click an editable cell and Moustra shows the right input (text, number, date, or dropdown). Press Enter to save or Escape to cancel.
How to Print Cage Cards
Print cage labels with animal tags, strain, and IACUC information for physical cage identification.
How to Connect Slack
Receive real-time notifications in Slack for litters, weans, and colony milestones without logging into Moustra.