How to Set Up Plug Tracking
Plug tracking records evidence of mating — typically a morning vaginal plug — and anchors the embryonic-day clock at E0.5 on the plug date. Each plug event ties to a female (and optionally a mating and male), and you can set a target E-Day (e.g. E13); Moustra then shows the current E-Day and computes an expected delivery / harvest window for you. When the pregnancy resolves you record an outcome — Live Birth, Harvest, Resorption, No Pregnancy, or Cancelled — so timed-mating workflows stay on schedule without manual day counting.
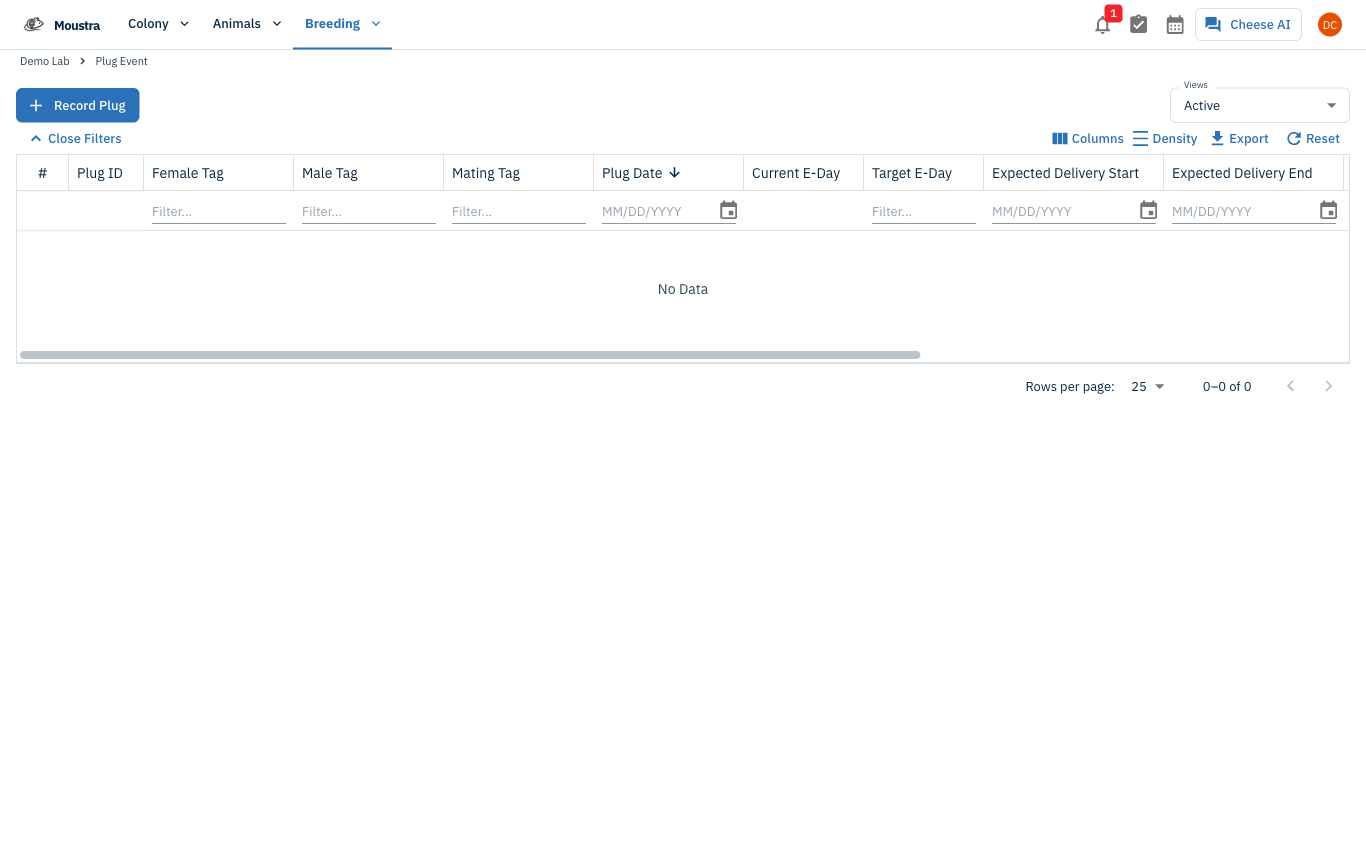
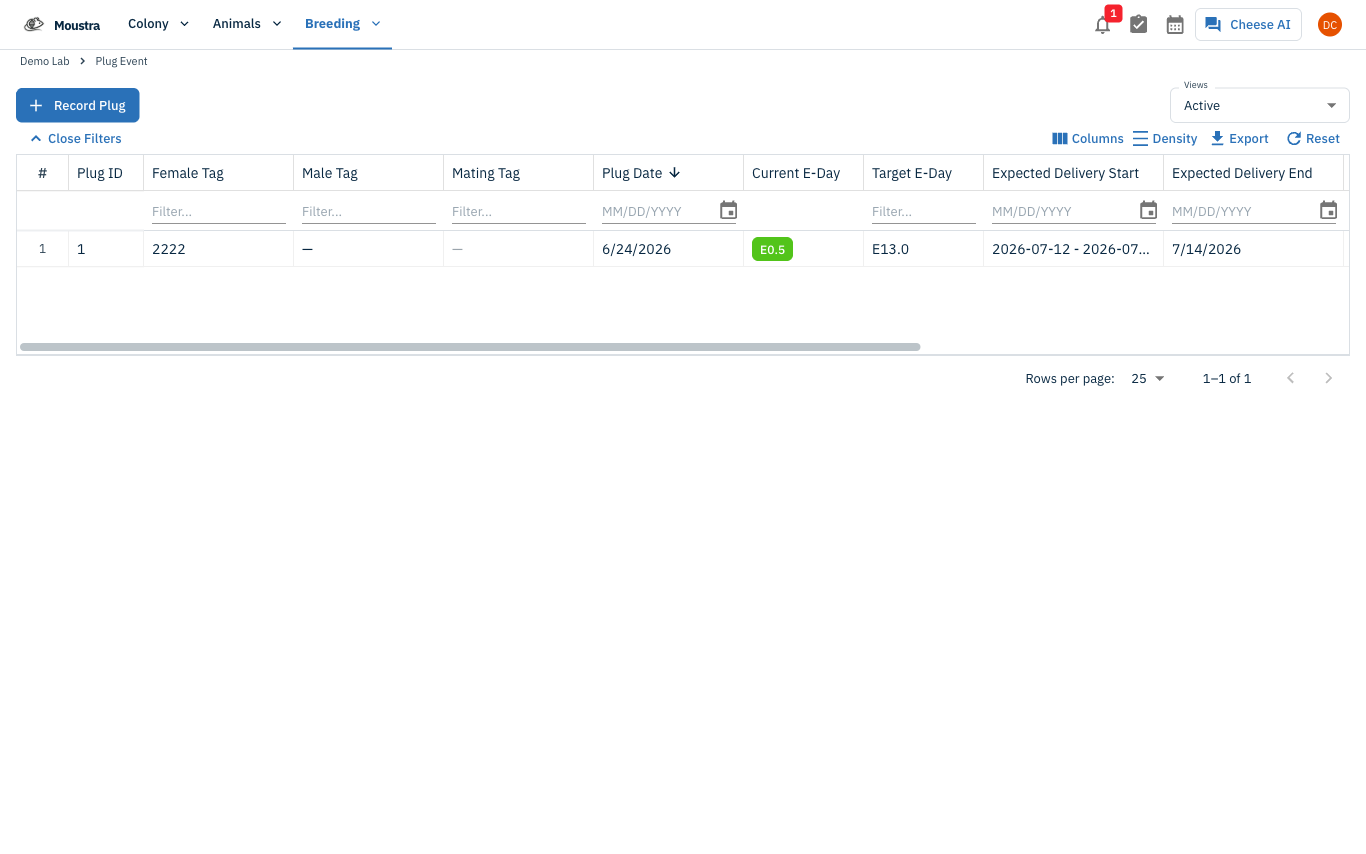
Open the Plug Events page
Click Breeding → Plug Events in the navigation menu. The list shows every plug event with its female, plug date, current and target E-Day, expected delivery window, and outcome.
Start a new plug event
Click Record Plug at the top of the page to open the Record Plug Event form.
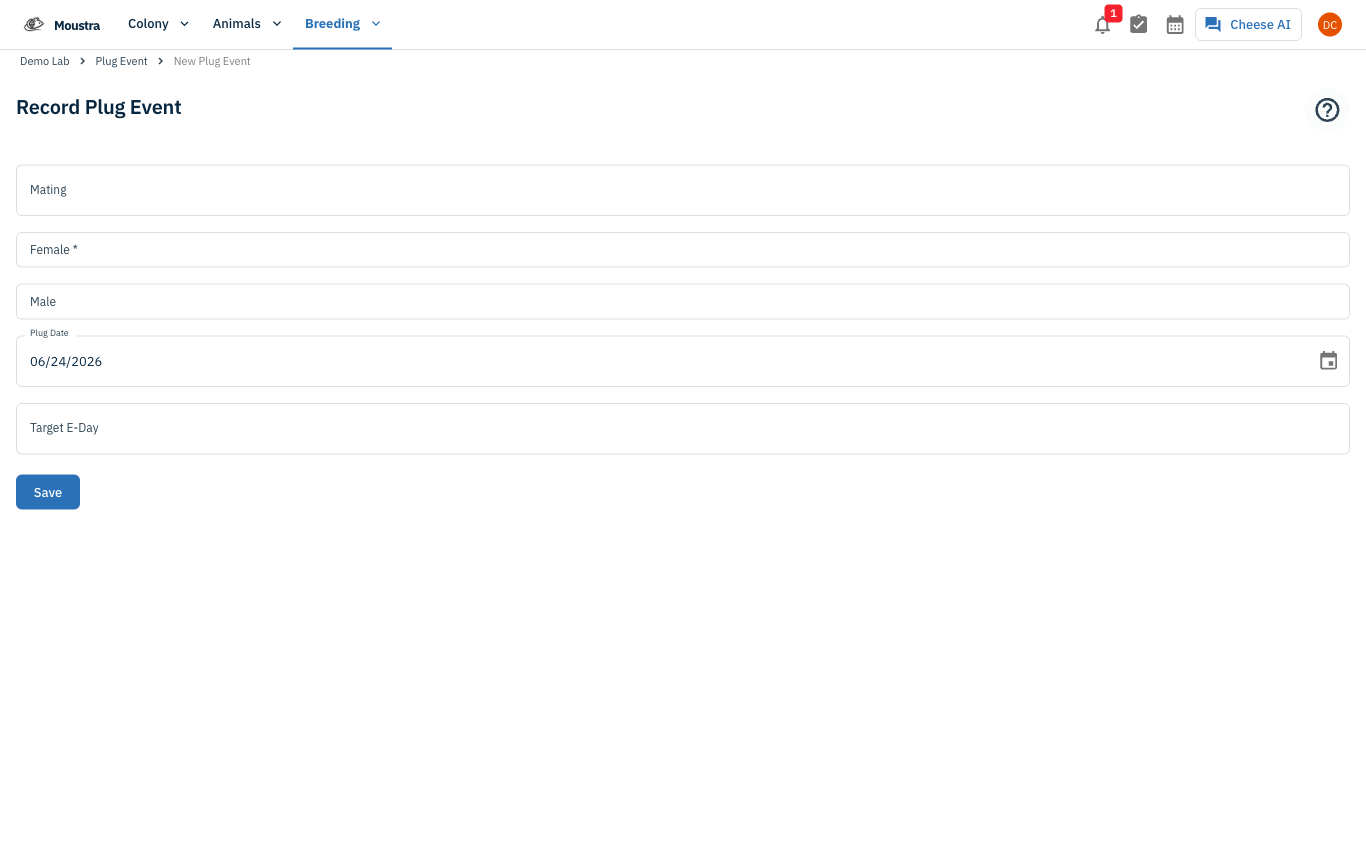
Choose the female (and mating)
Select the Female (required). Optionally pick a Mating — it auto-fills the male, and the female when the pairing has only one — and confirm the Male. Only active matings appear in the picker.
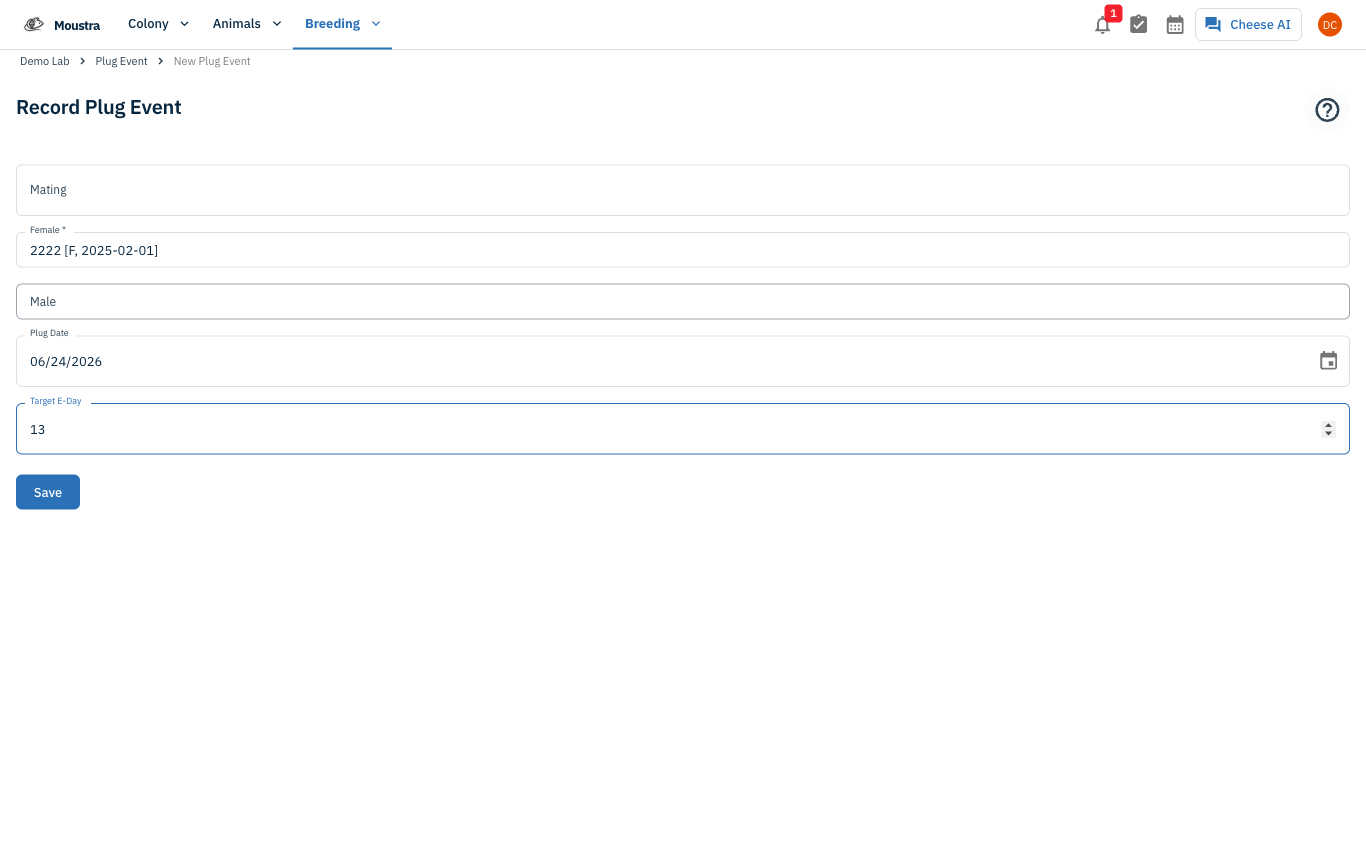
Set the plug date and target E-Day, then Save
Set Plug Date to the morning the plug was observed; Moustra anchors it as E0.5. Enter a Target E-Day (for example 13) for a timed mating, then click Save. The list now shows the computed Current E-Day, Target E-Day, and Expected Delivery window.
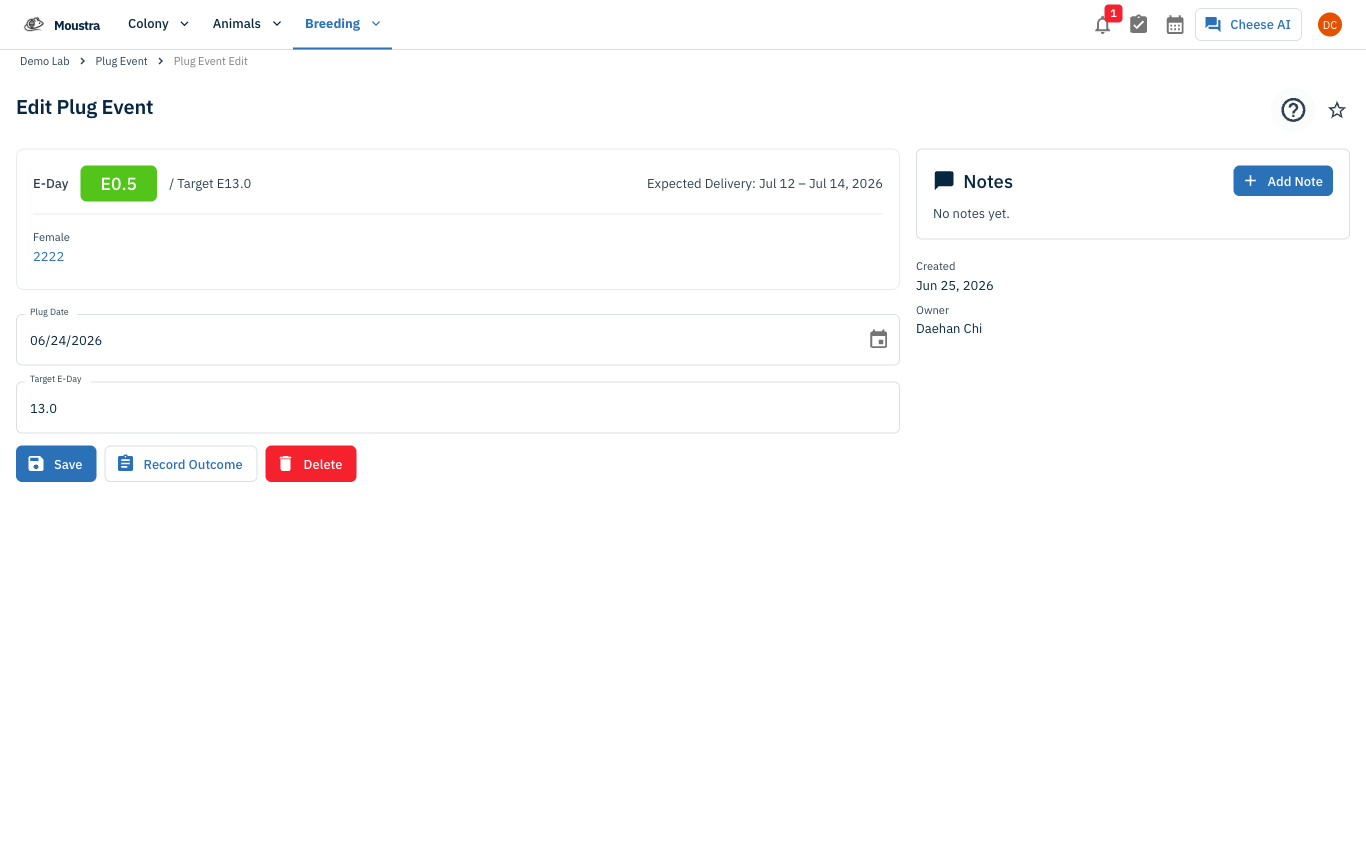
Track the event
Open the plug event to see a live E-Day chip, the Target E-Day, and the computed Expected Delivery window — so timed-mating harvests stay on schedule without counting days by hand. You can adjust the plug date or target E-Day here at any time.
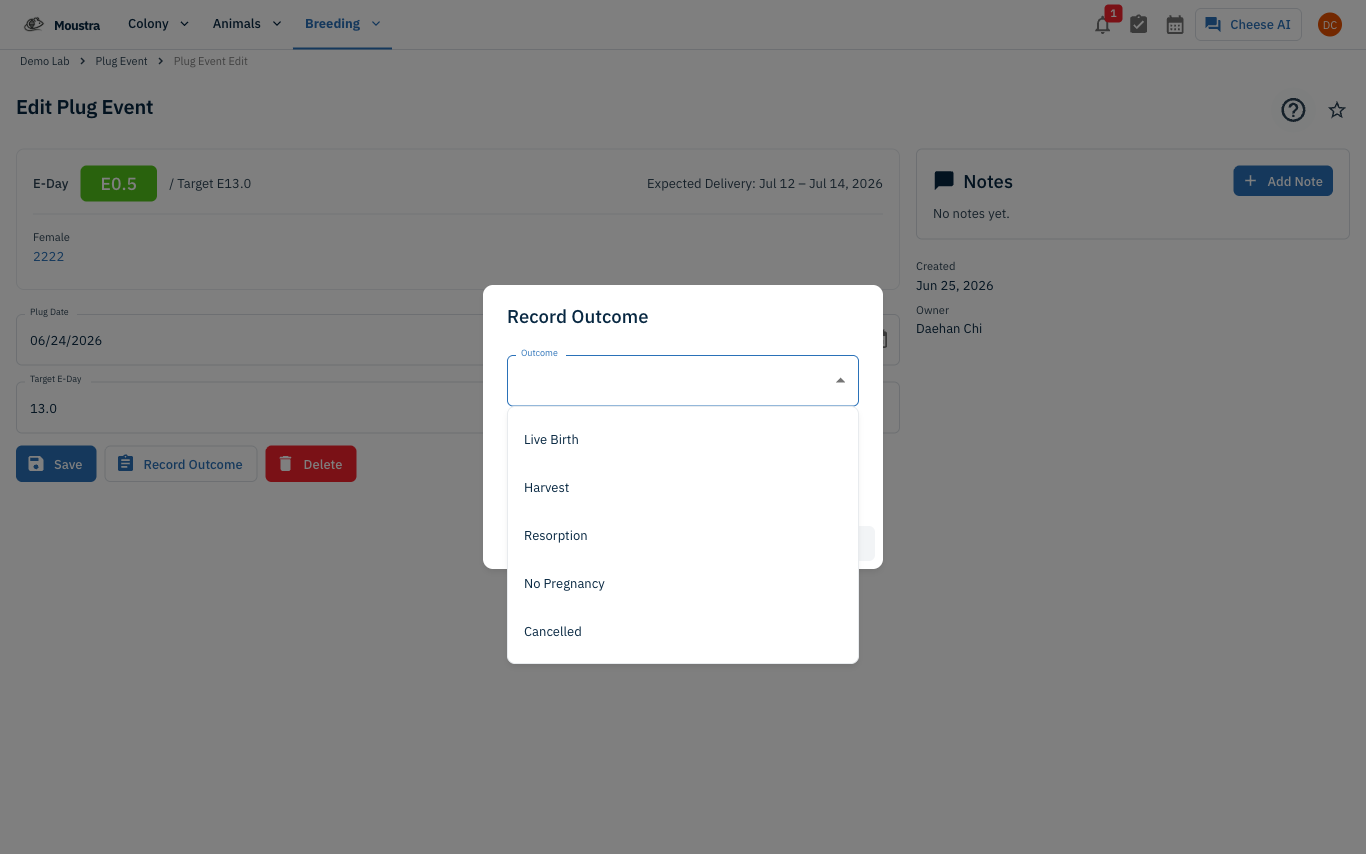
Record the outcome
When the pregnancy resolves, open the event and click Record Outcome, then choose Live Birth, Harvest, Resorption, No Pregnancy, or Cancelled and set the outcome date. A Live Birth can roll straight into creating a litter.
More in Advanced
Quick Edit Cell
Edit values directly in any data grid: double-click an editable cell and Moustra shows the right input (text, number, date, or dropdown). Press Enter to save or Escape to cancel.
How to Print Cage Cards
Print cage labels with animal tags, strain, and IACUC information for physical cage identification.
How to Connect Slack
Receive real-time notifications in Slack for litters, weans, and colony milestones without logging into Moustra.